Learn how to create it!
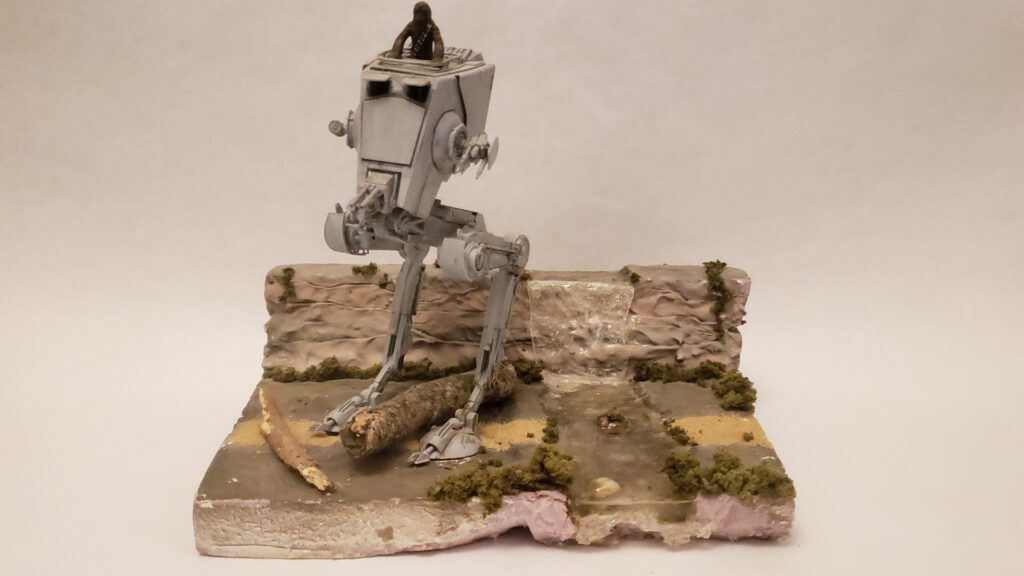
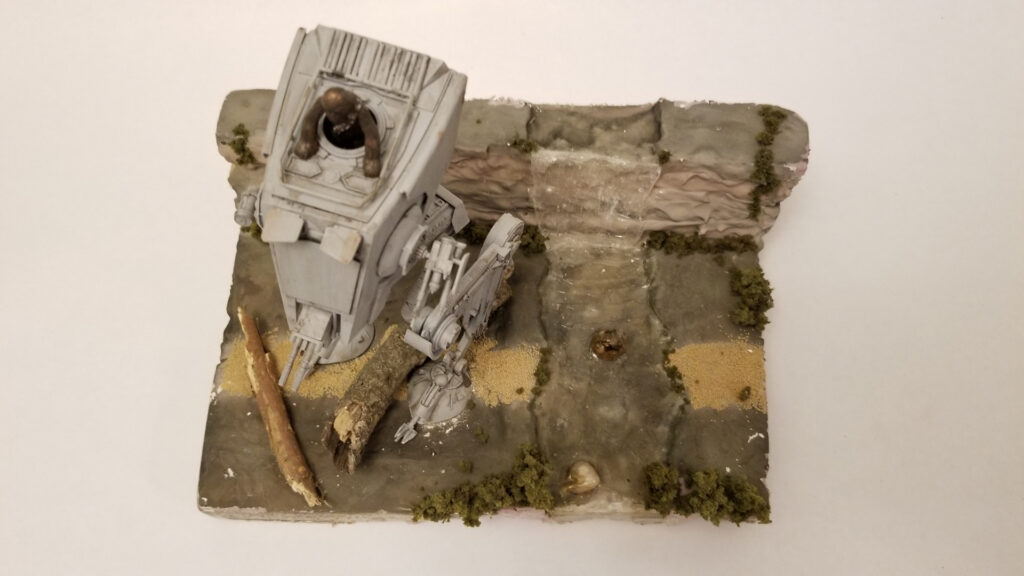
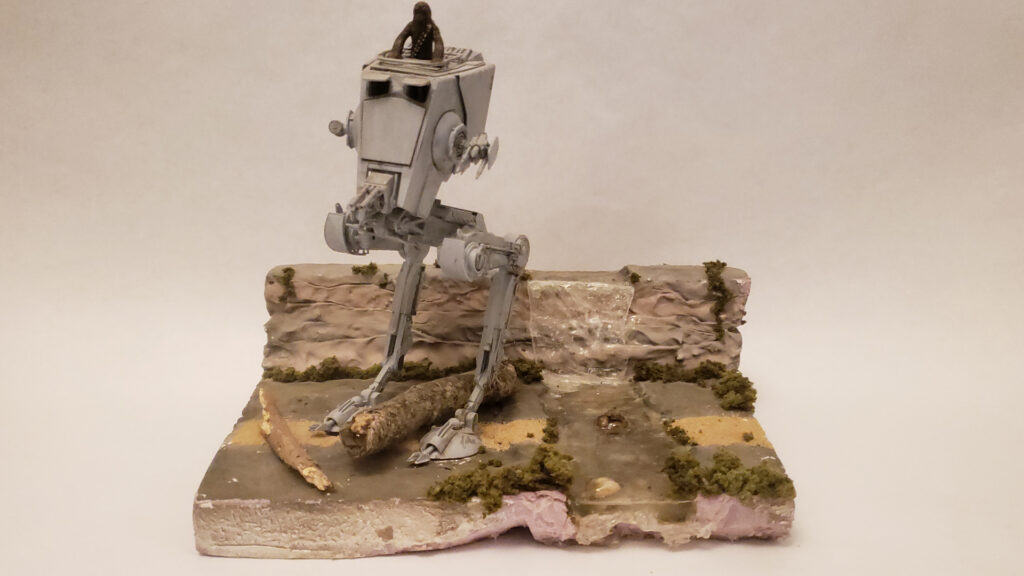
I made a fun diorama of a Star Wars AT-ST, originally featured in The Empire Strikes Back and Return of the Jedi. This build was made to take place on the Forest Moon of Endor. Below is a list of materials used and certain tools in order to create the scenery and water features.
Materials Used
- Pink Foam
- Epoxy Resin
- Model Shrubbery
- Hobby Sands
- PVA Glue
- Plastic Wrap
- Powder Plaster
- Small Rocks
- Wire
- Acrylic Paint
- Real Wood Branches
- Thick Plastic Sheet
Tools Used
- Pin Vise
- Wire Cutters
- Hobby Knife
- Hobby Saw
- Tweezers
- Caulk
- Airbrush
- CA glue
Making the Base and Rock Wall
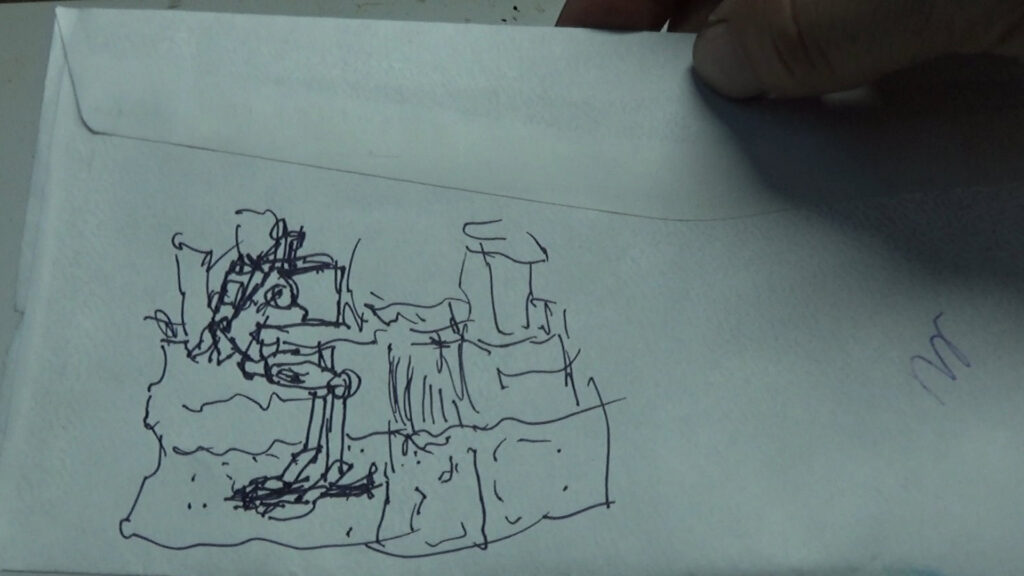
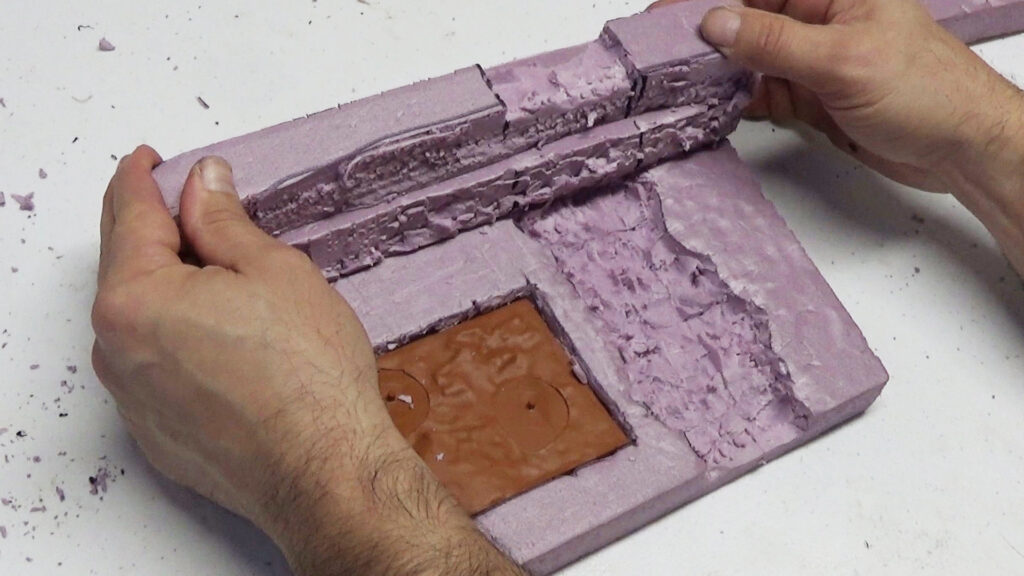
I start off by drawing out a rough sketch of what I want this diorama to look like. I outline the foam with the dimensions of the base that include where the model and it’s plastic base will sit, as well as where the stream with be placed. The areas outlined are cut out for the plastic base and river, plus two levels of foam strip to simulate the rock wall in back.
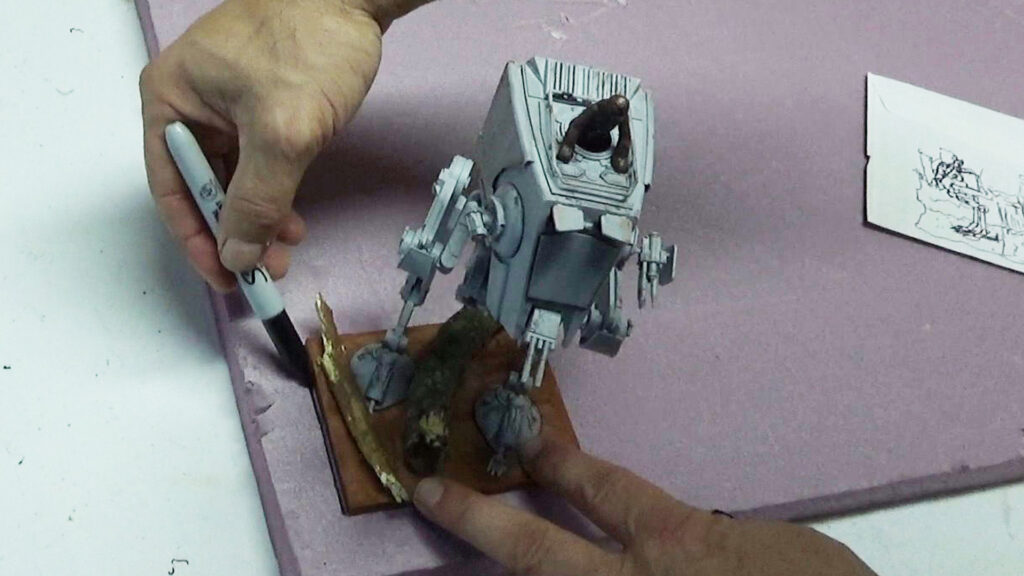
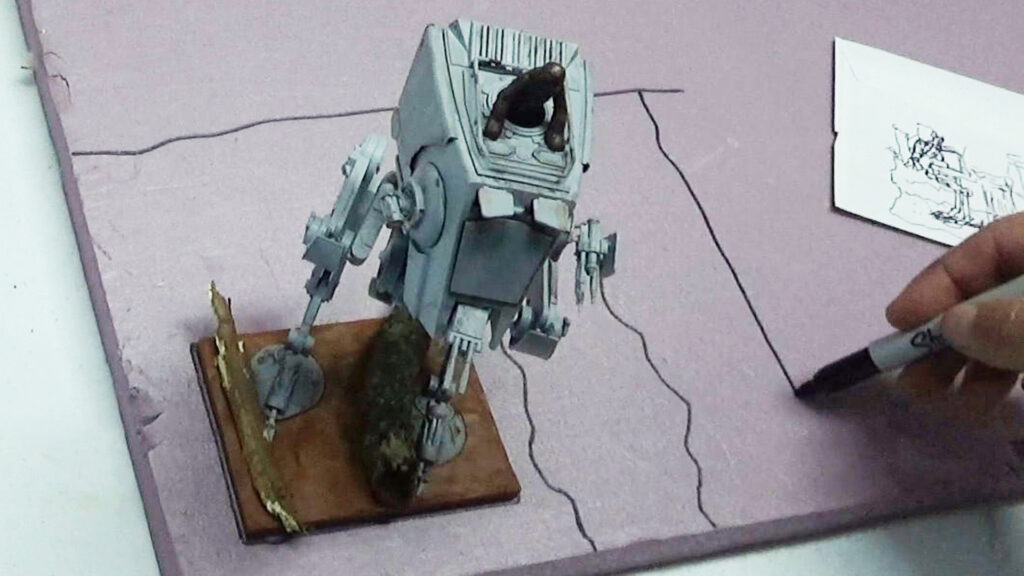
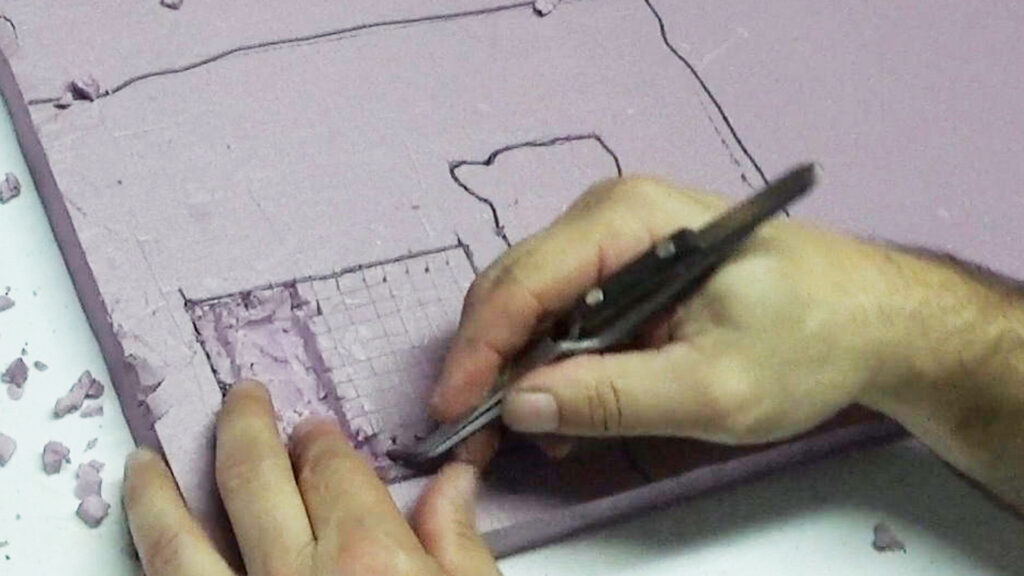
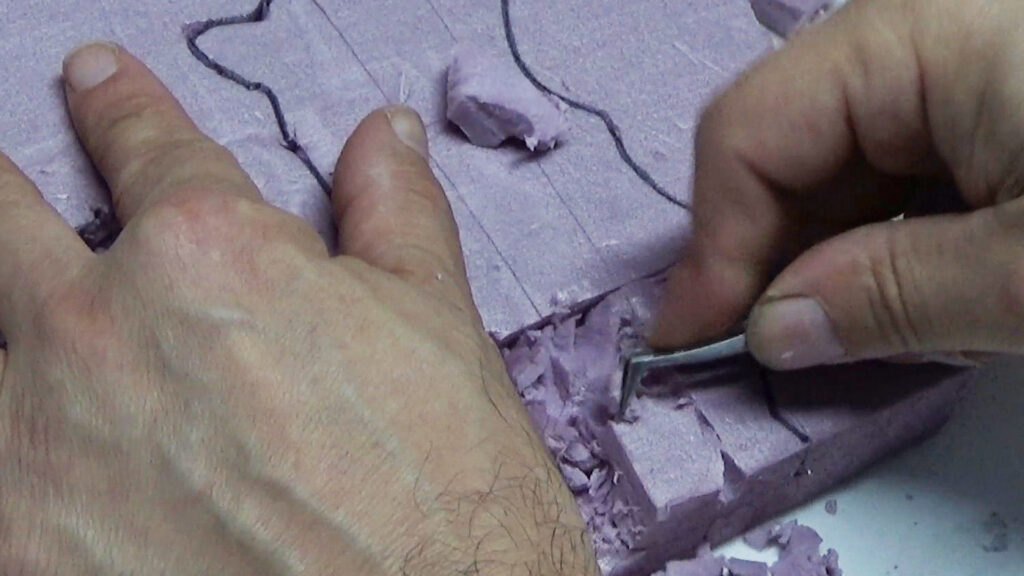
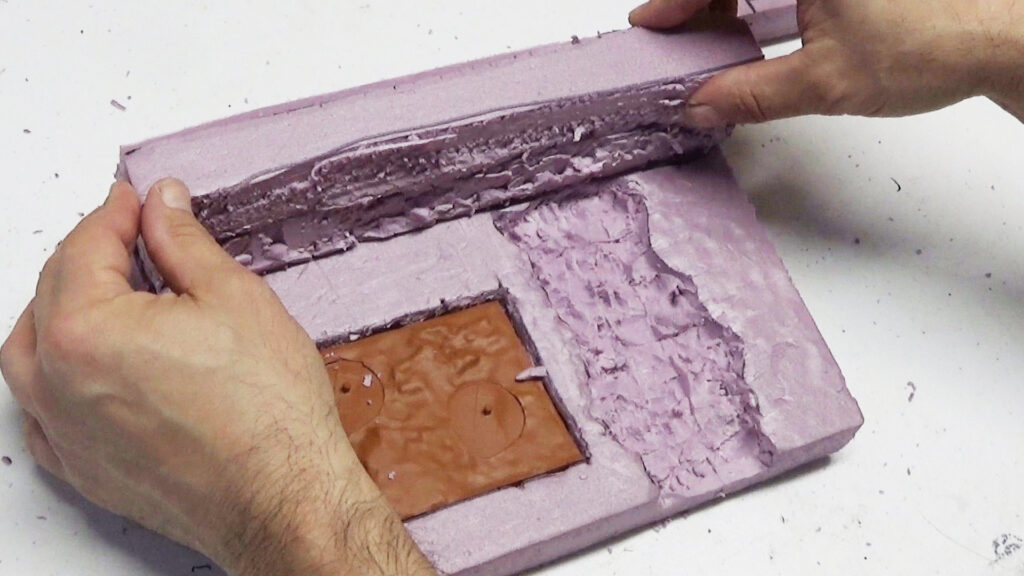
To cut the foam, I used a hobby knife and saw. The areas that got pitted, are done by cutting squares and chipping each one out. This is my first try at this and it’s what worked for me. I lined up the foam stacked so I could get an accurate measurement on how to cut the rock wall.
Gluing Everything in Place
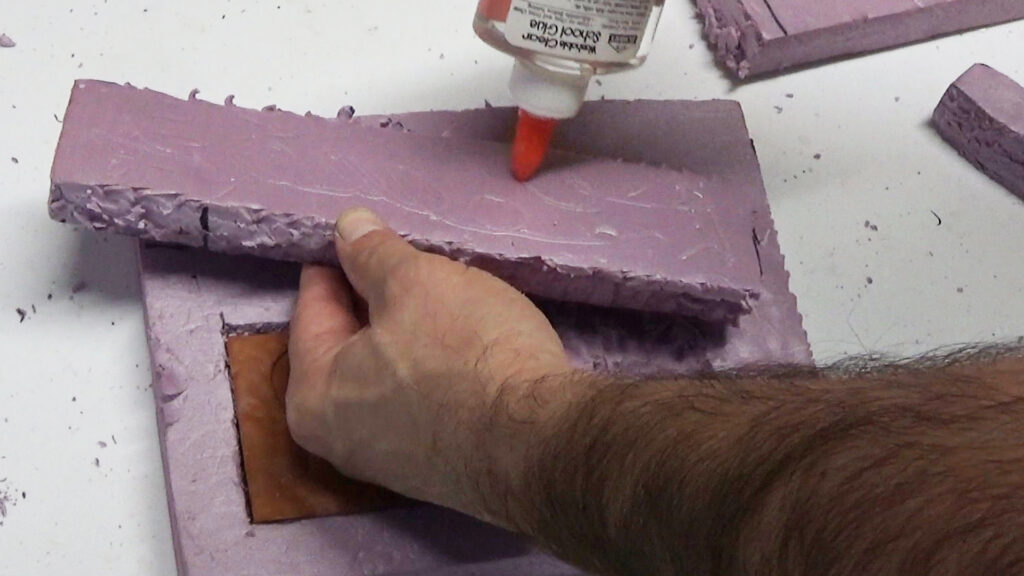
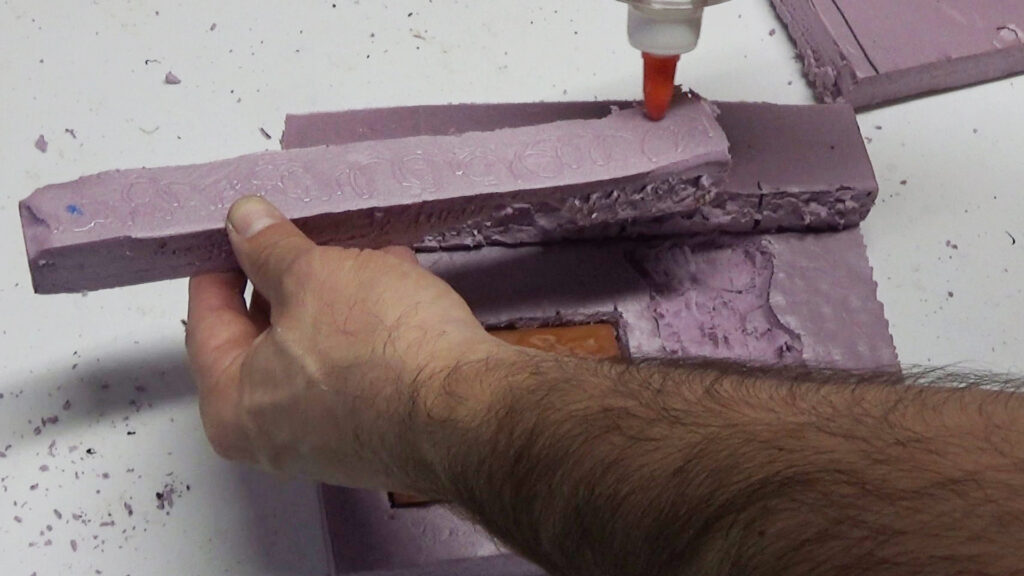
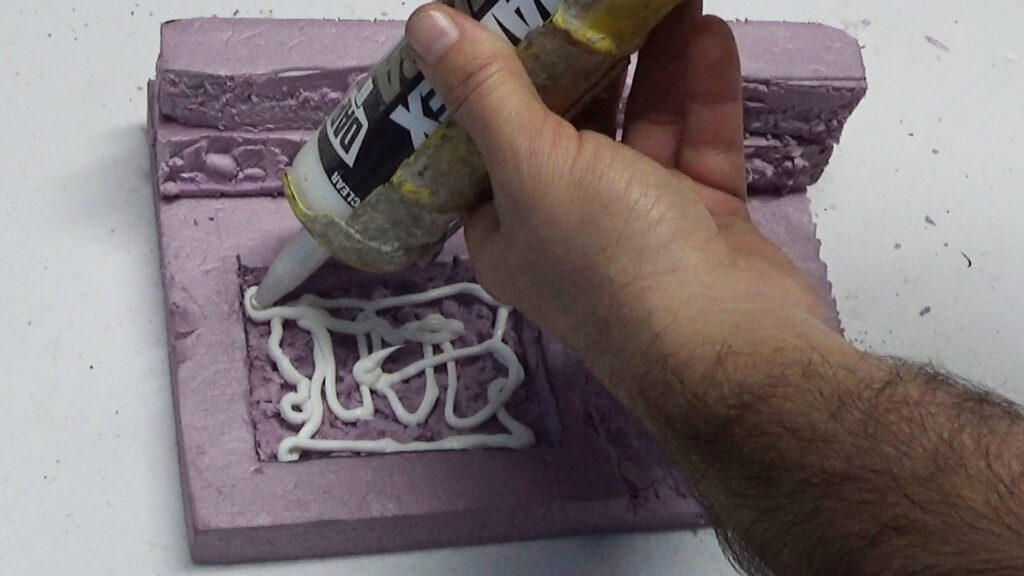
After I shaped the wall by cutting sections out, using PVA glue, I first glued the two pieces of the rock wall to the foam base. First it went on the base, then onto the top layer of wall and glued that to the bottom layer of the rock wall. Using caulk, I lined the bottom of the square cut out where the plastic base for the AT-ST will go, then pressed the plastic base into place. The caulk will hold it in place as well, the plaster will also help.

Applying the Plaster
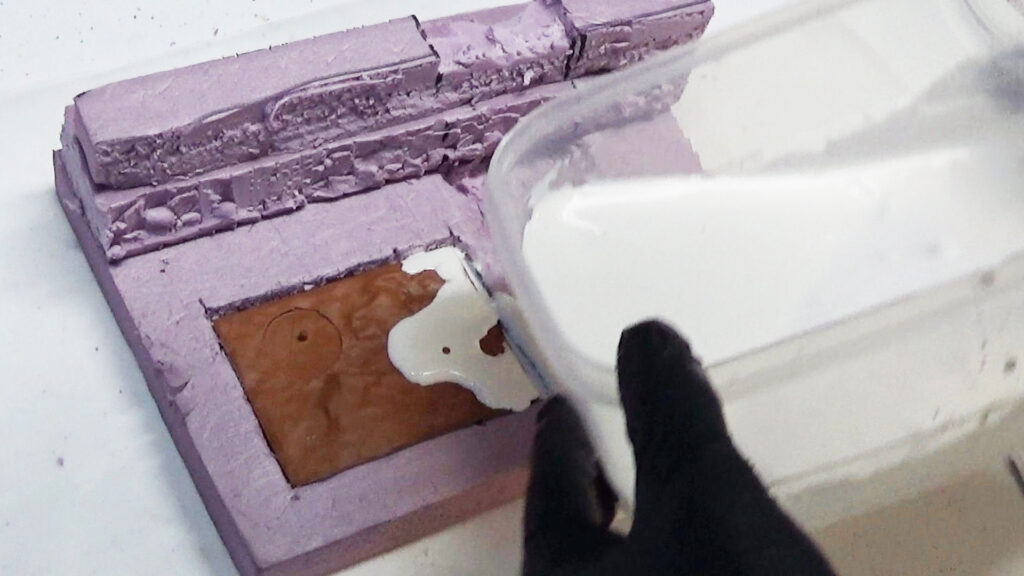
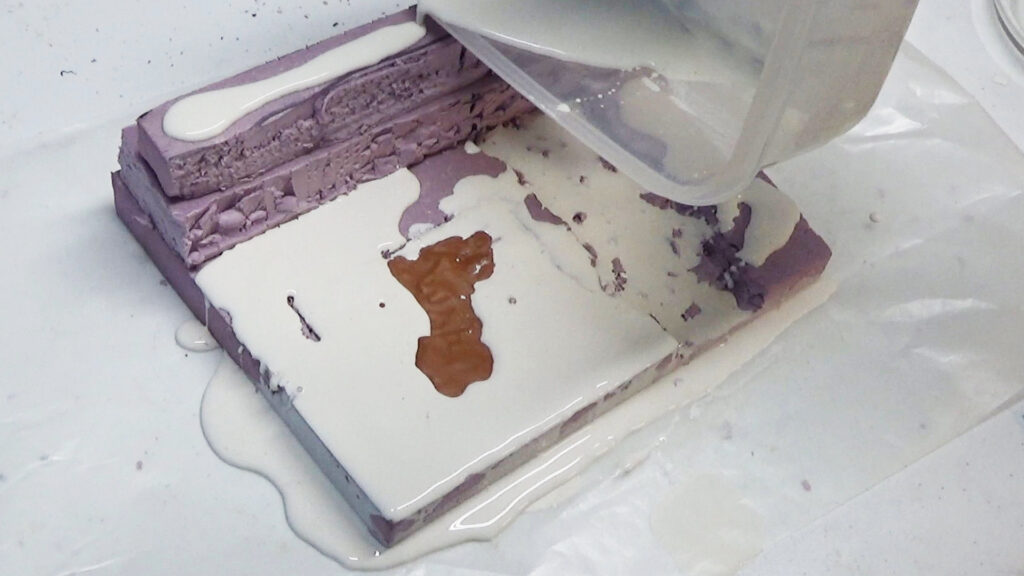
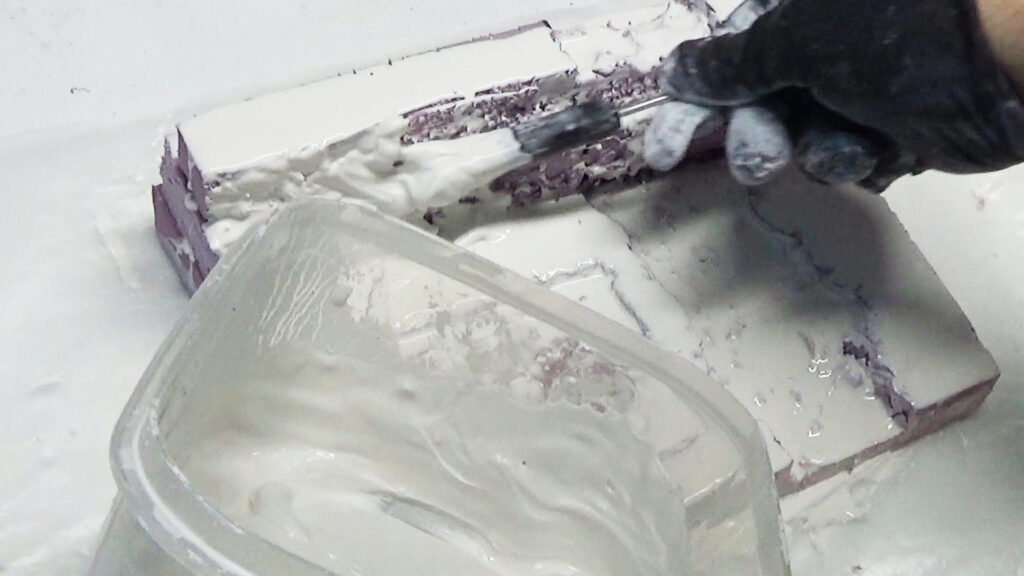
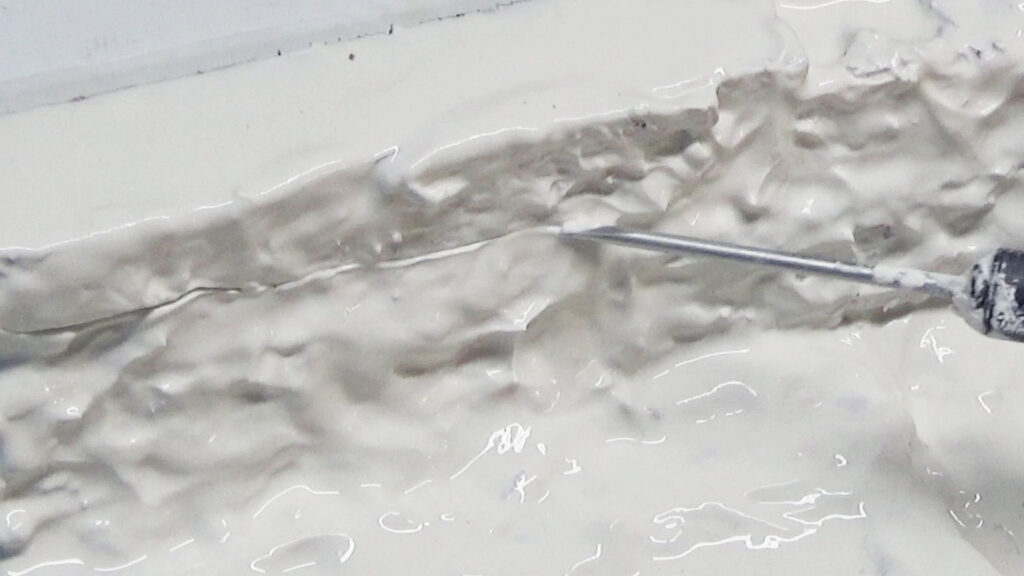
Before applying the plaster, I made sure the foam was dented to give it contours. The hard part for me was the plaster application. I should have made temporary side plates to hold the plaster. Since I did not do this, it ran off the sides of the foam. The good thing about the plaster is how quickly it begins to set and harden. I made sure the gap in the plastic square and foam was filled. I the plaster starts to get a bit thick, it will make it easier to apply to the rock wall portion of the diorama. I used a flathead to carve lines across the wall to look like different rock formations, and break the plaster of the area where the feet of the AT-ST will go.
Painting the Diorama
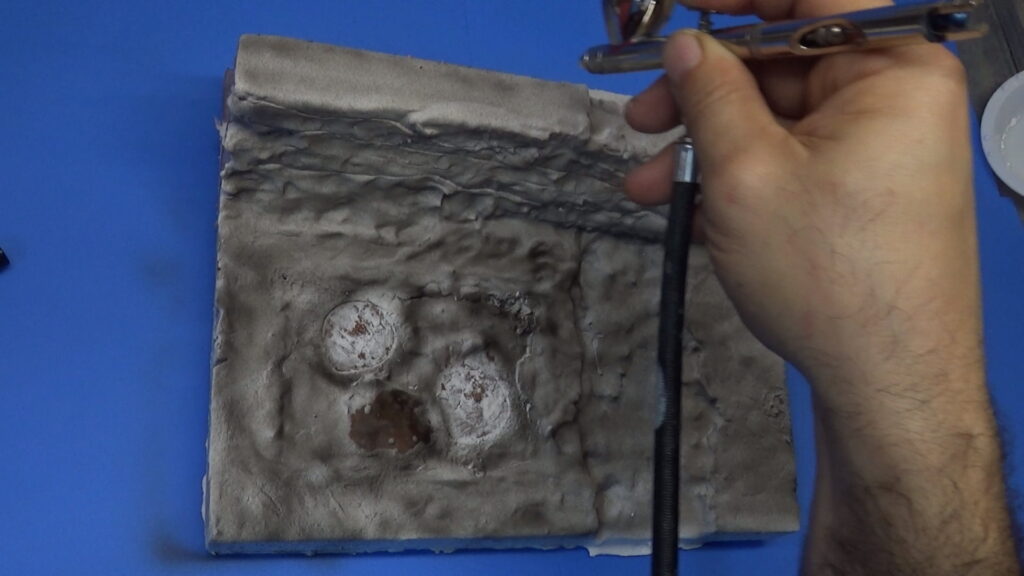
Using a Badger Patriot 105 Airbrush, I first paint the entire Diorama flat black. I then painted various shades of brown, tan, green, and grey, to create the ground and rock effects. I painted a path, which will get covered in light sand later on. Also added, were light colored streaks for the streams. Highlights where added to the stream sides for accents.
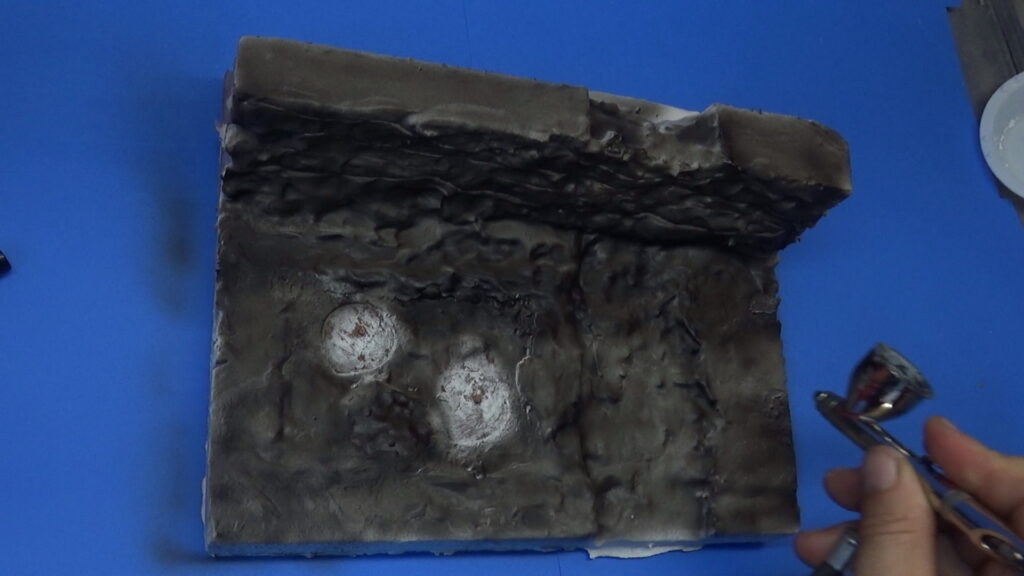
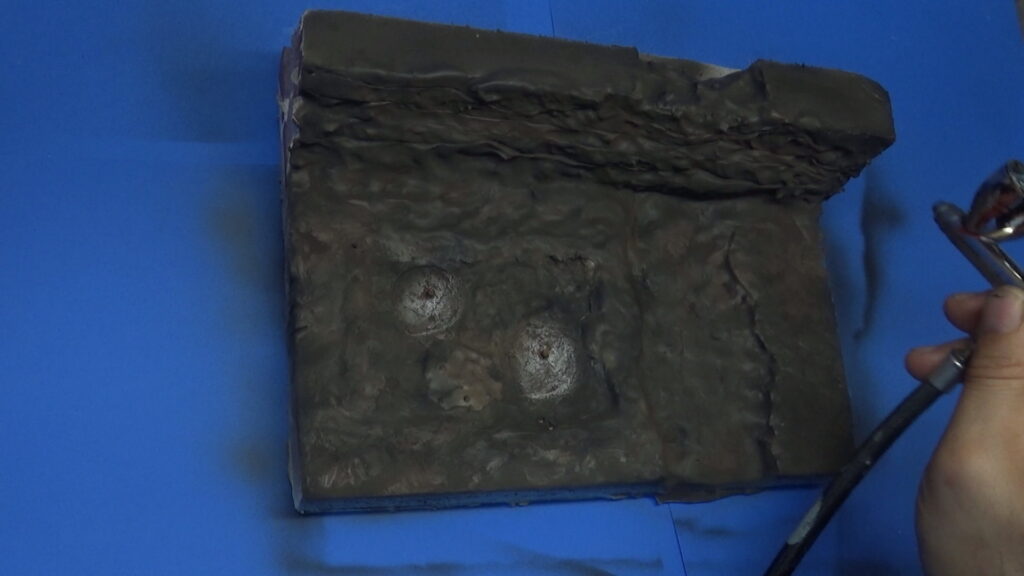
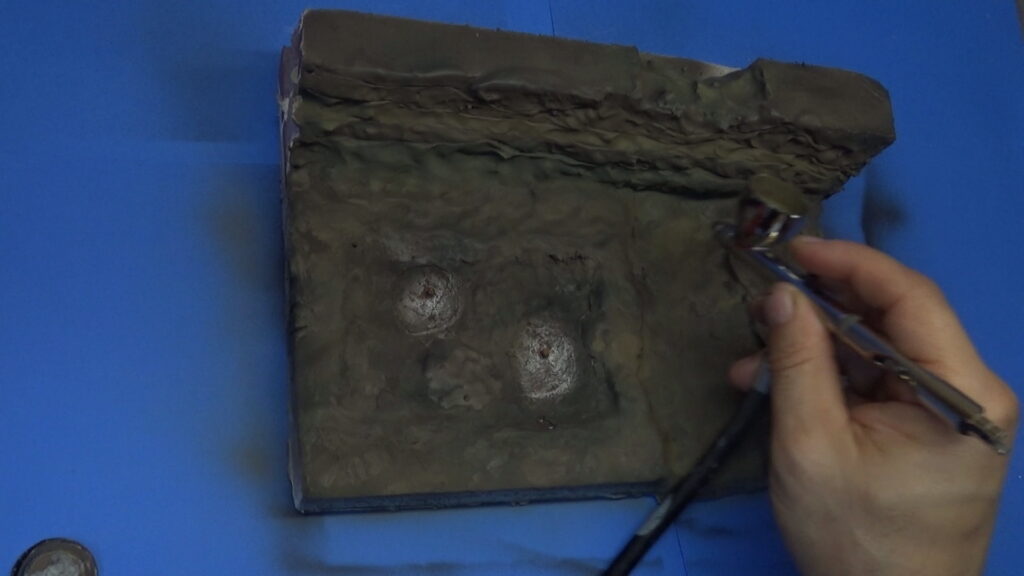
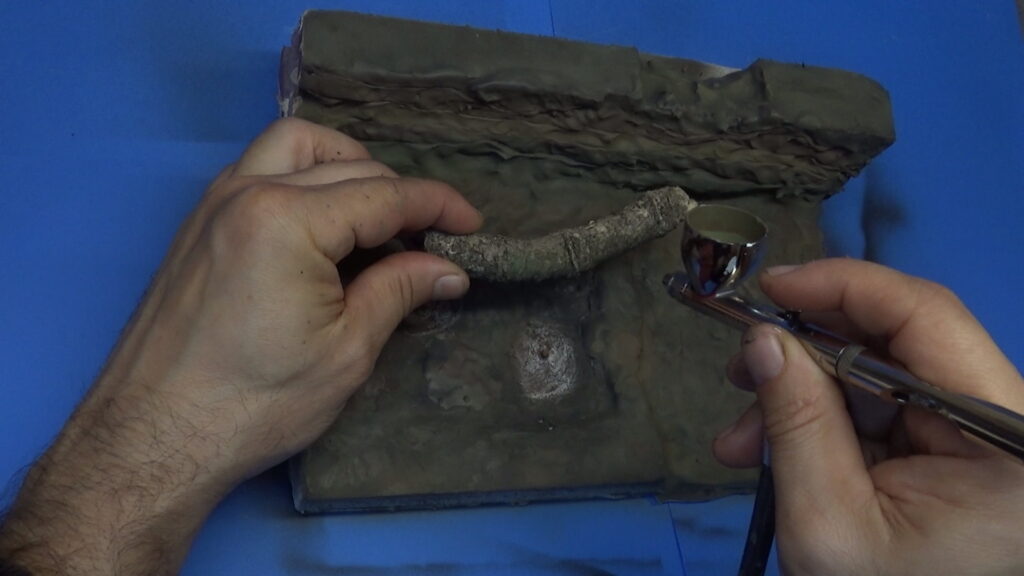
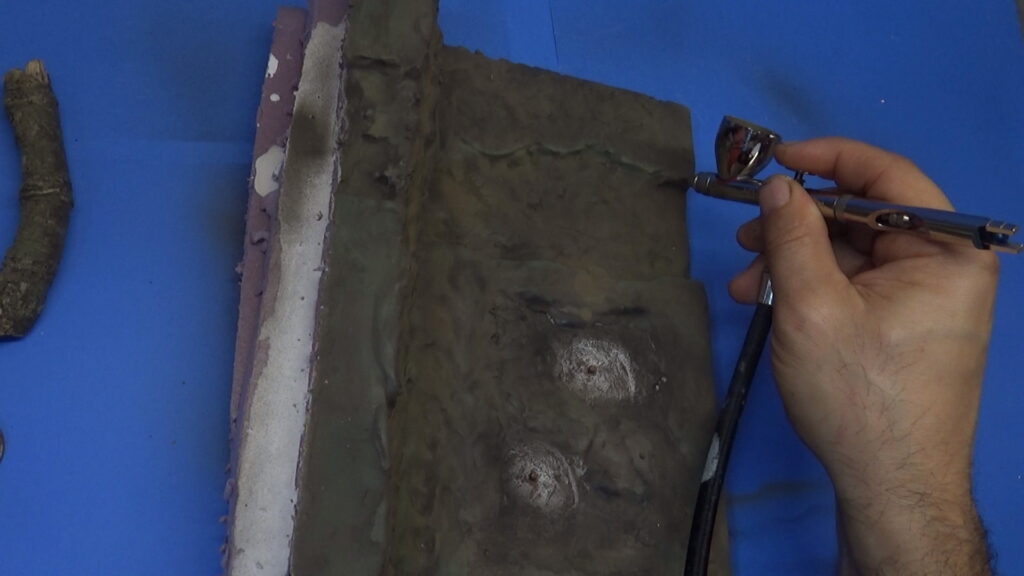
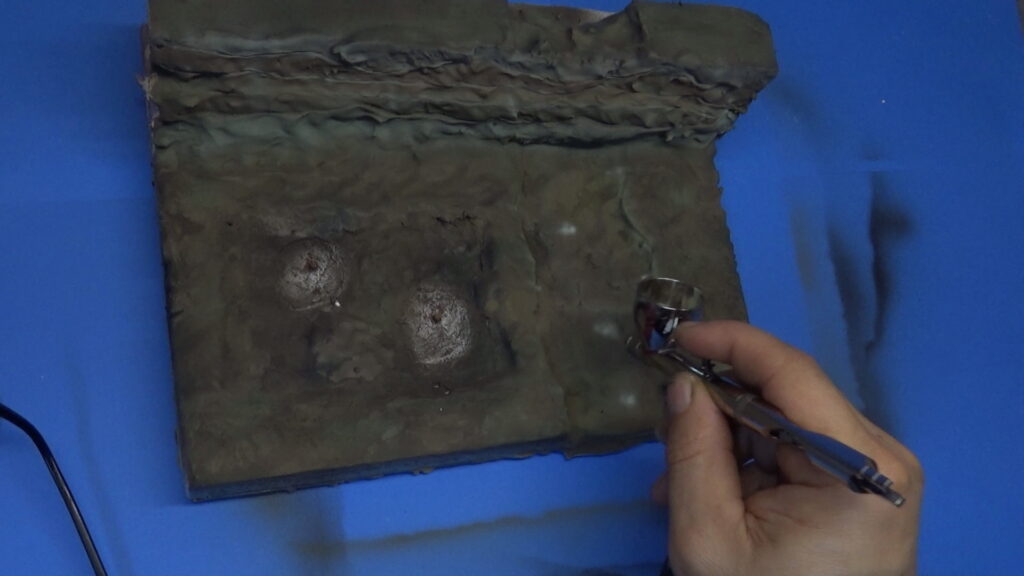
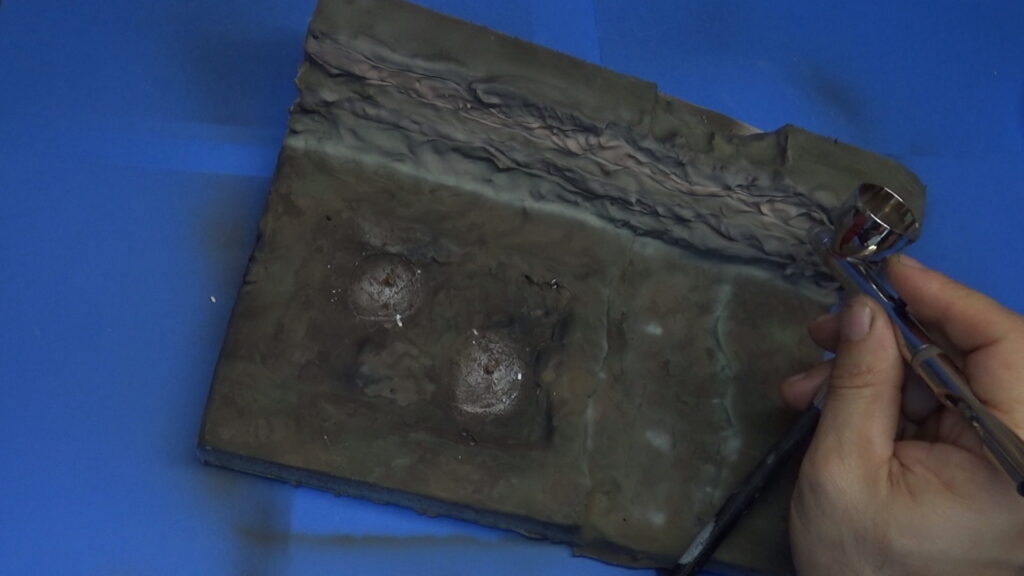
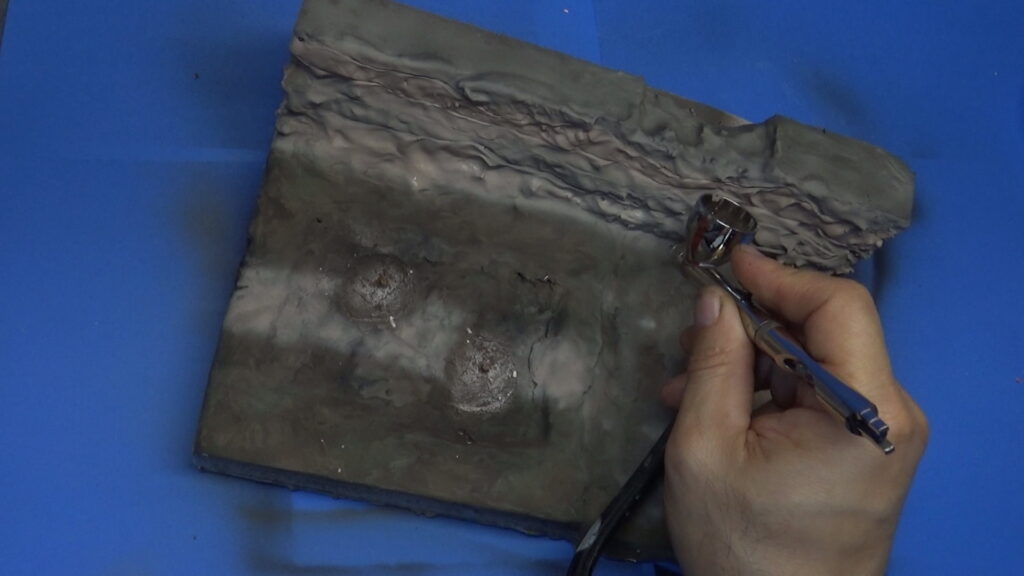
Creating the Streams
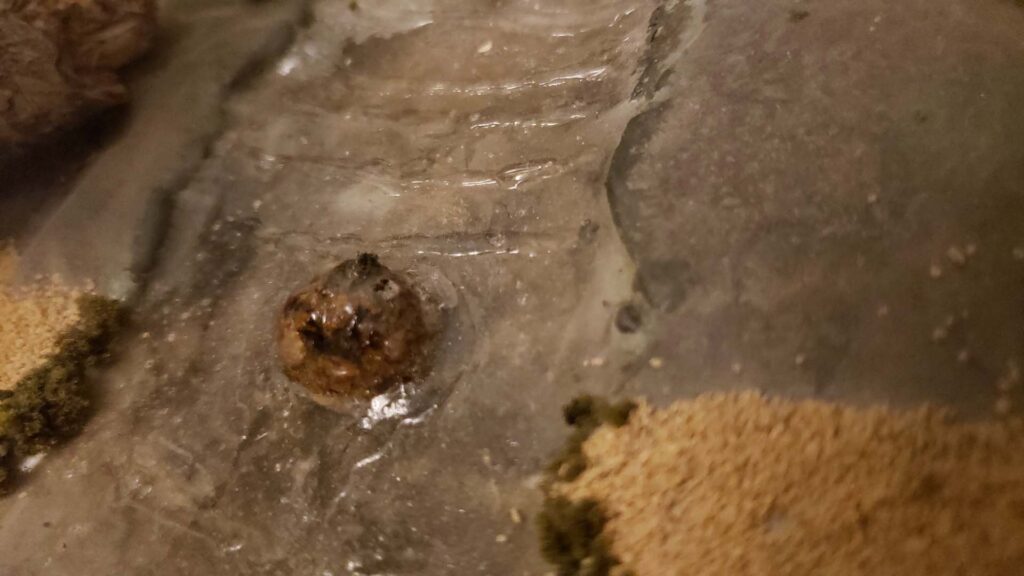
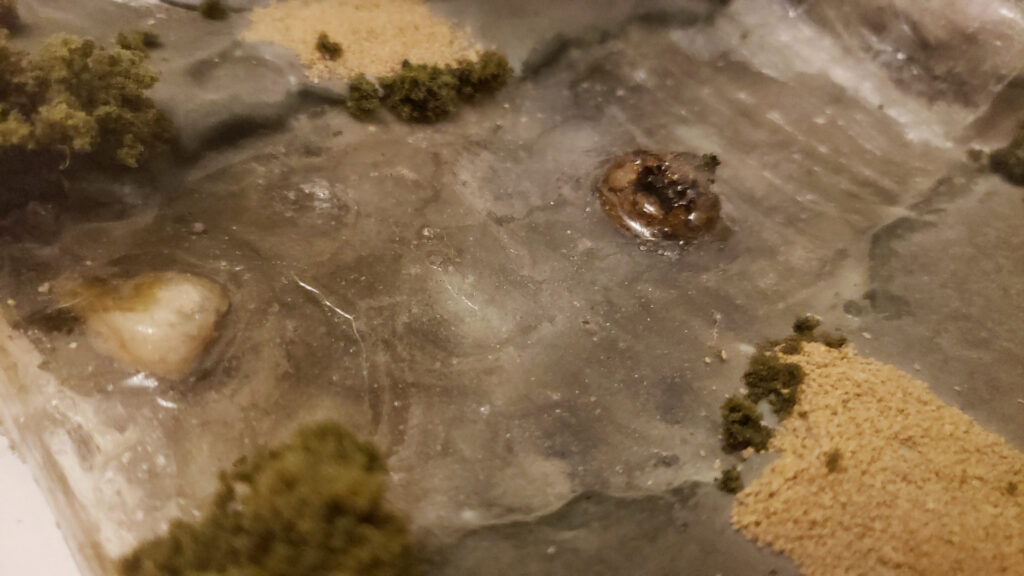
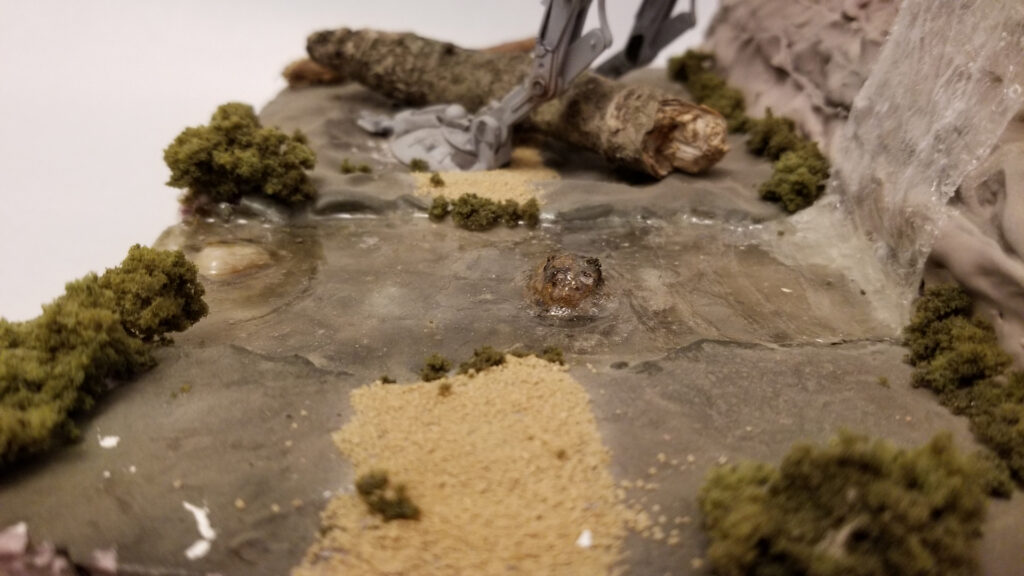
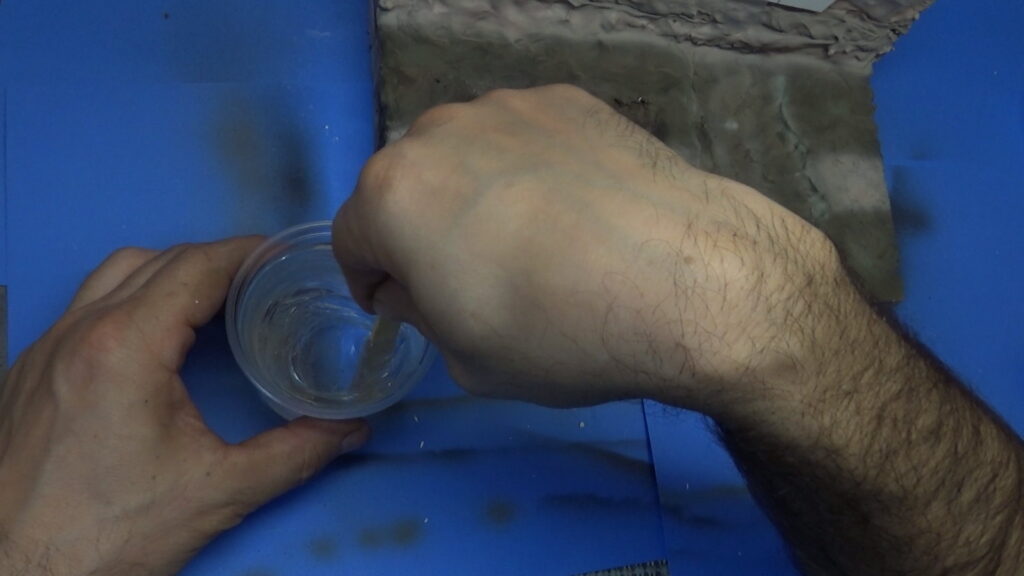
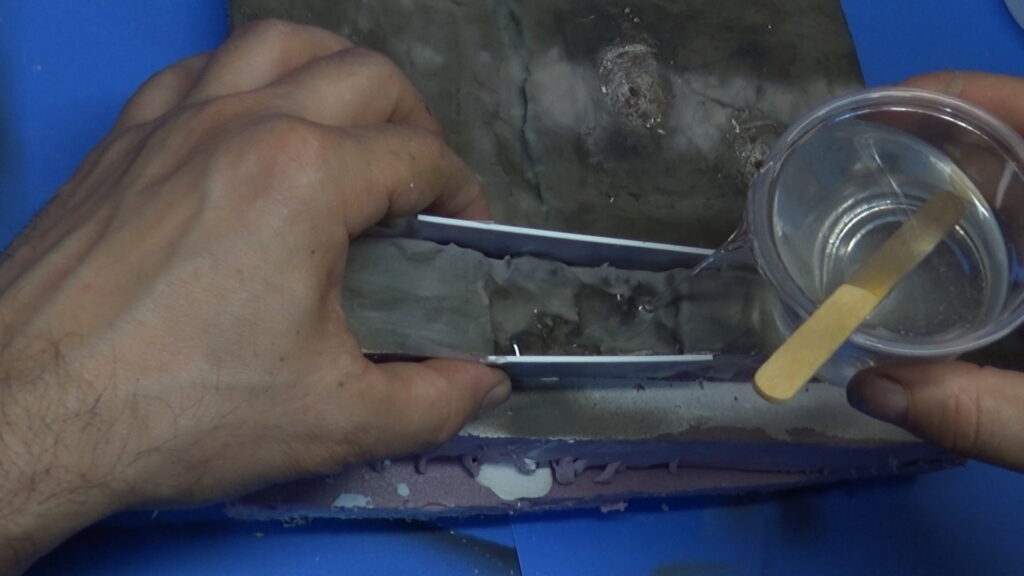
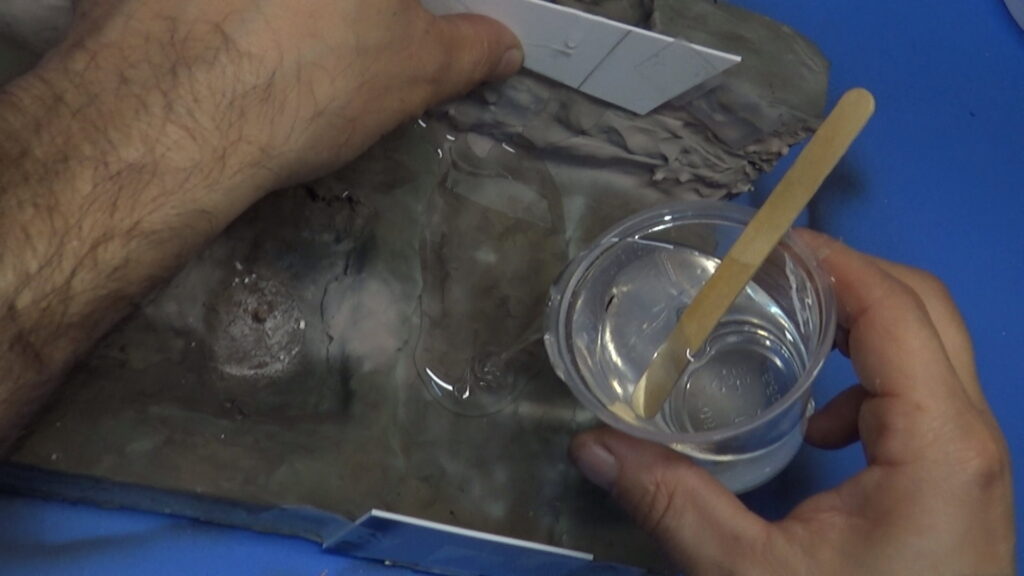
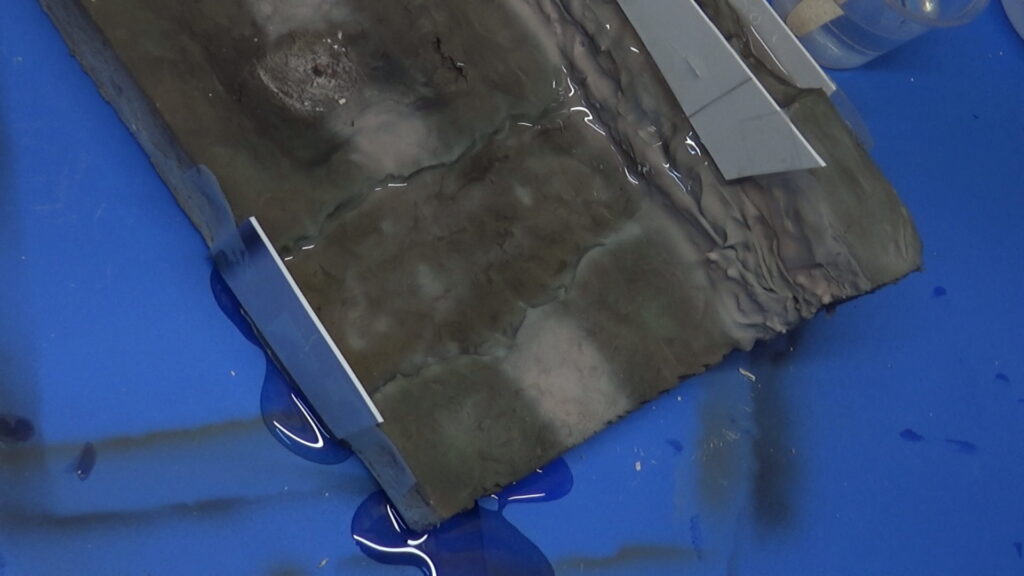
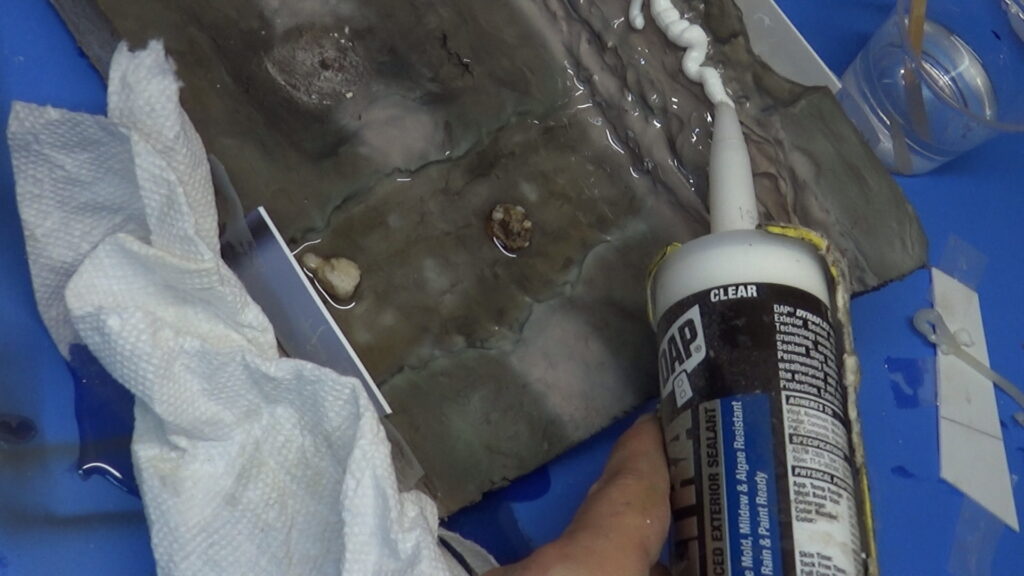
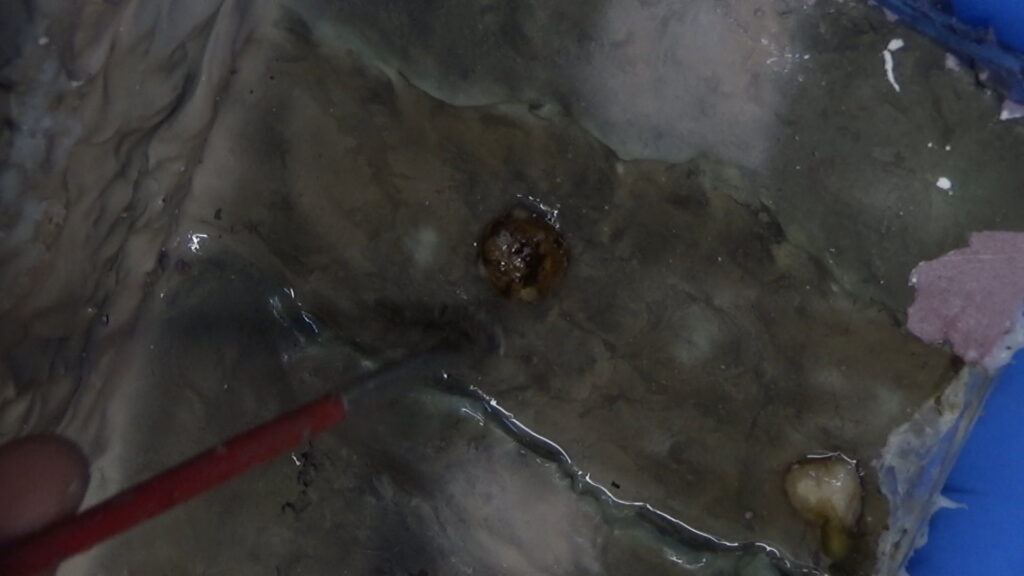
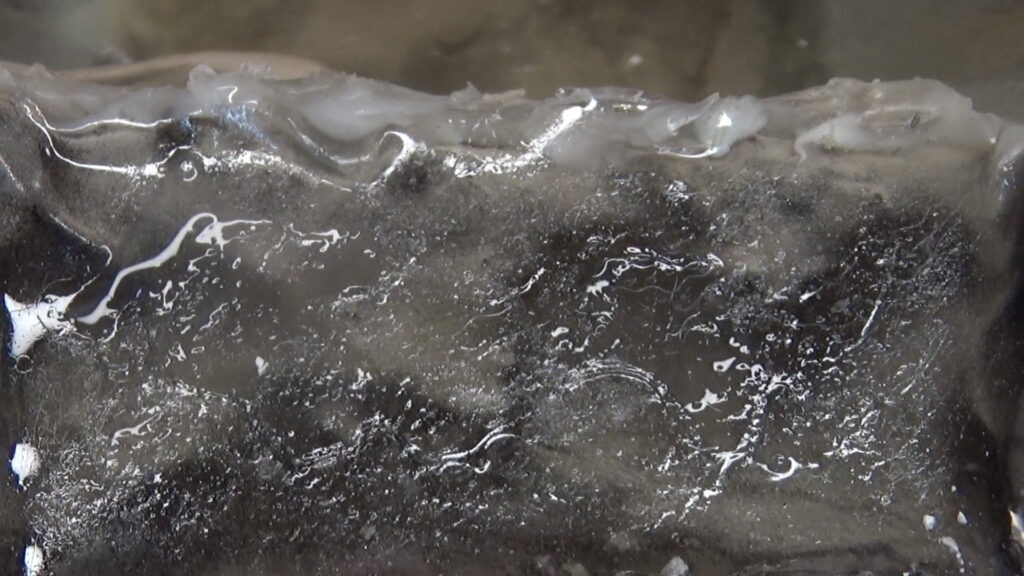
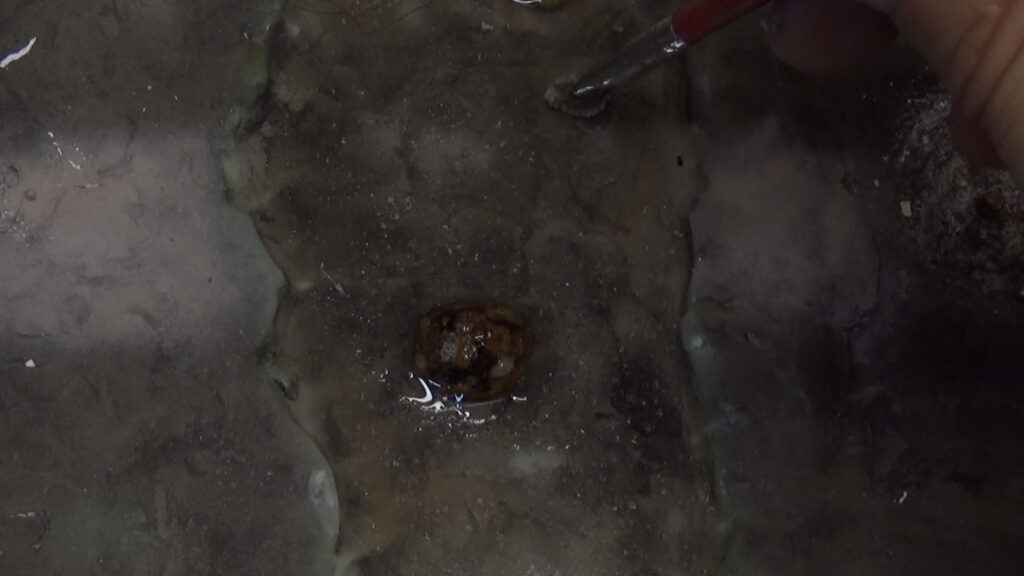
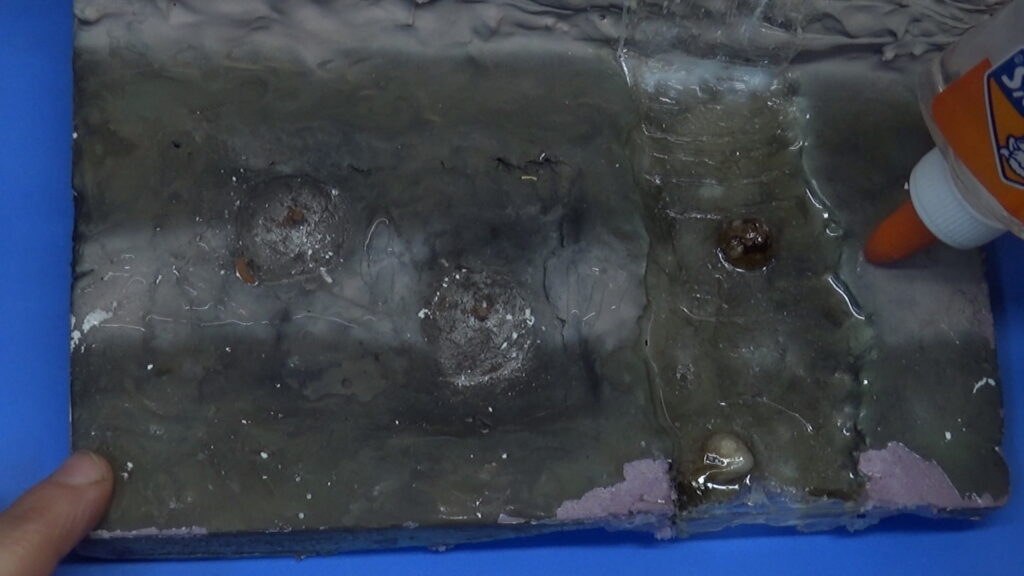
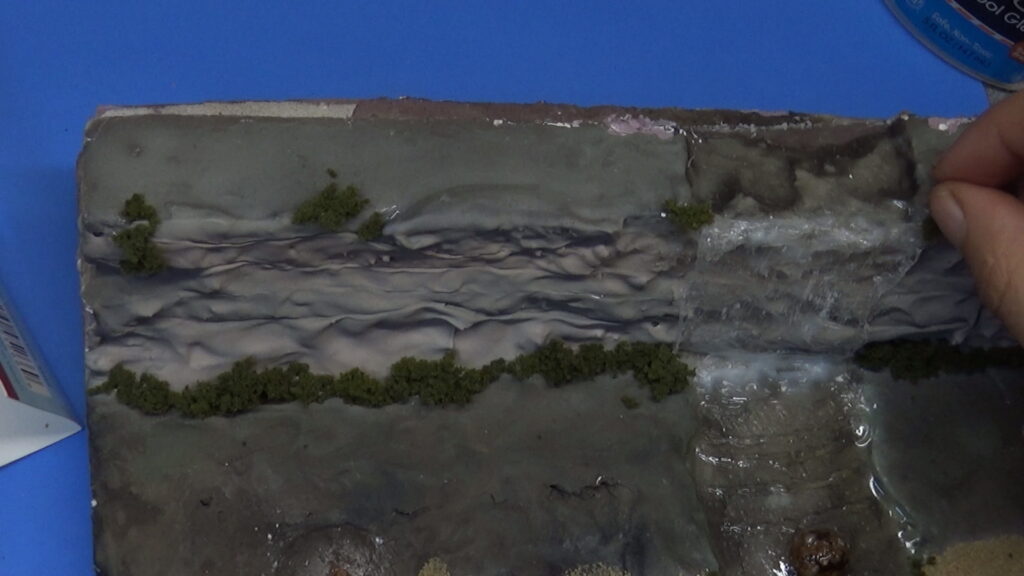
First, the area where the stream is to be poured will need to be sealed of so the epoxy stays inside of the stream bed. I used plasticard and caulk to seal it in. If the seal is not good, the epoxy will leak out very easily as shown in the photo below. I placed small rock pebbles in the stream to mimic what you would see in real life. Once the epoxy hardened, I used clear PVA glue and a stiff brush to simulate ripples in the water by simply applying it in various patterns along the rock, and sides to create the illusion of movement.
Making a Small Waterfall
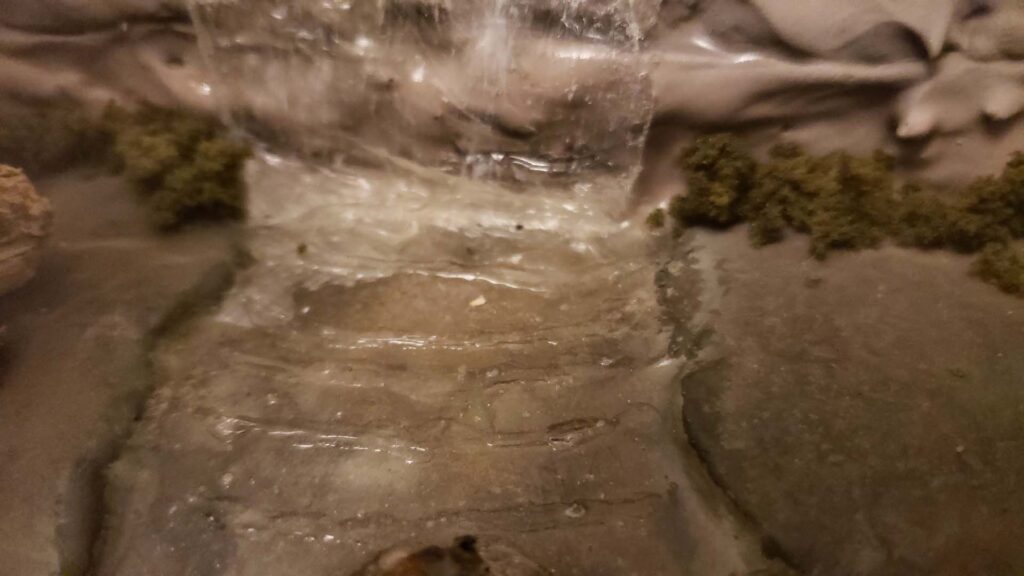
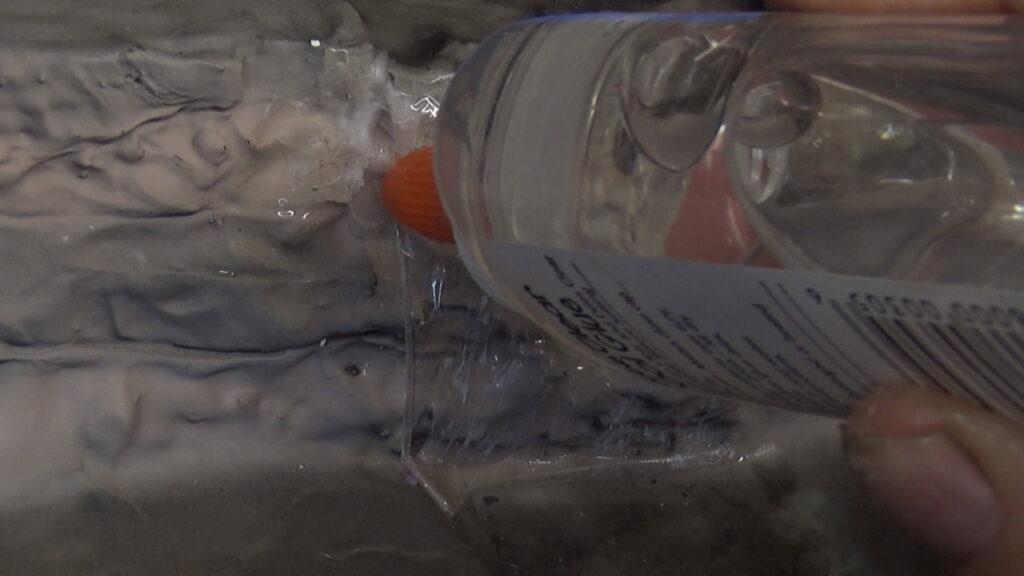
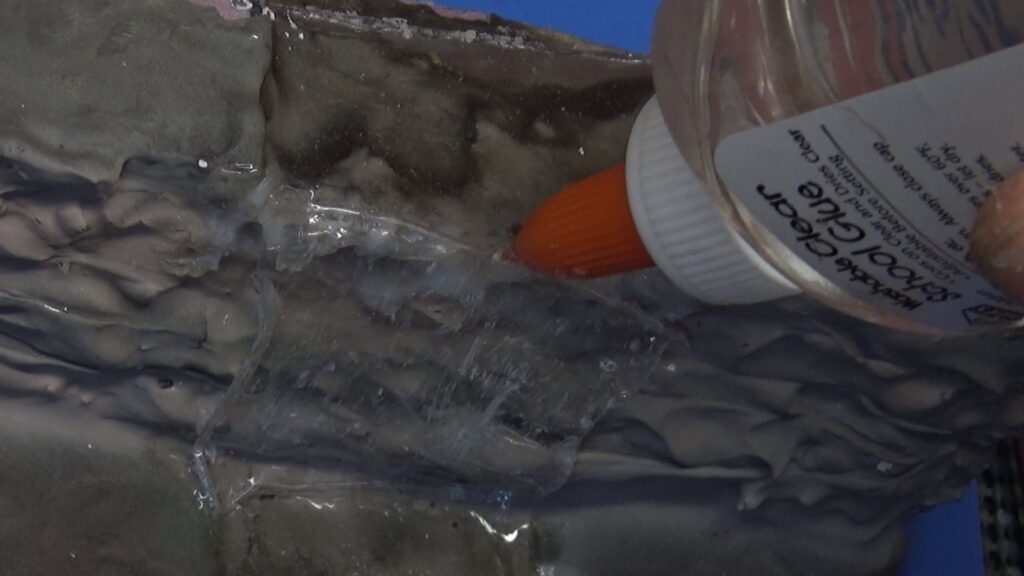
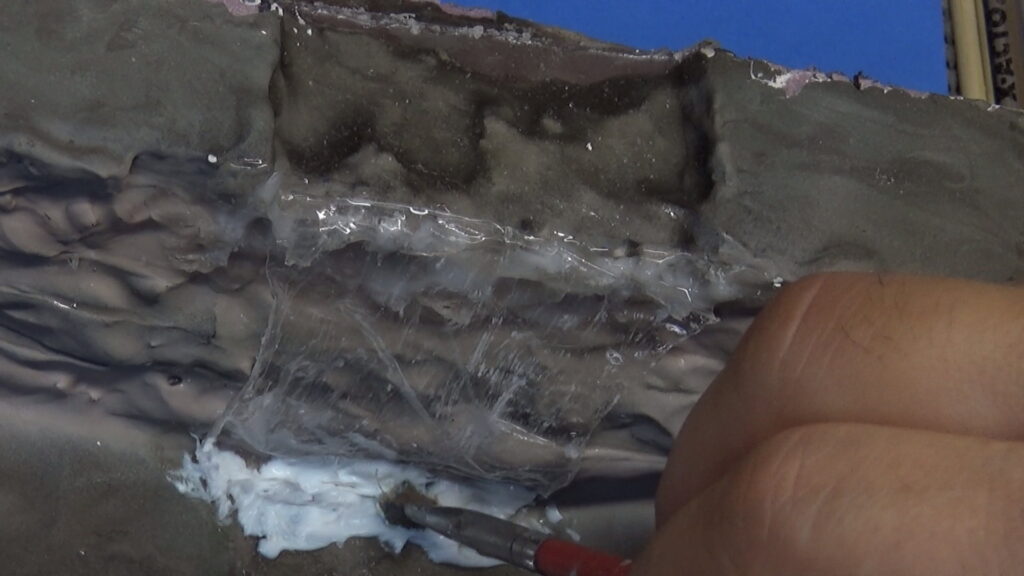
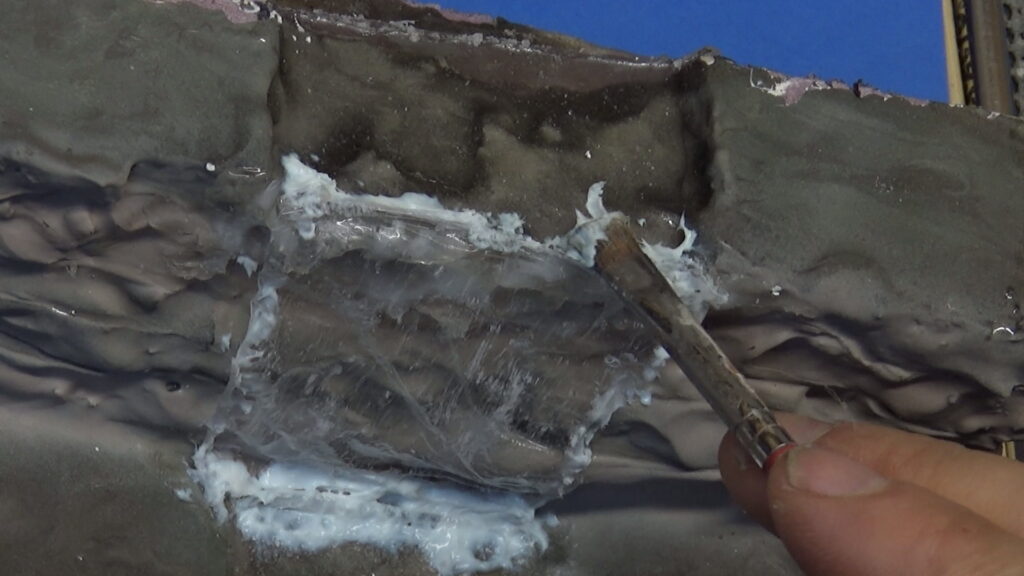
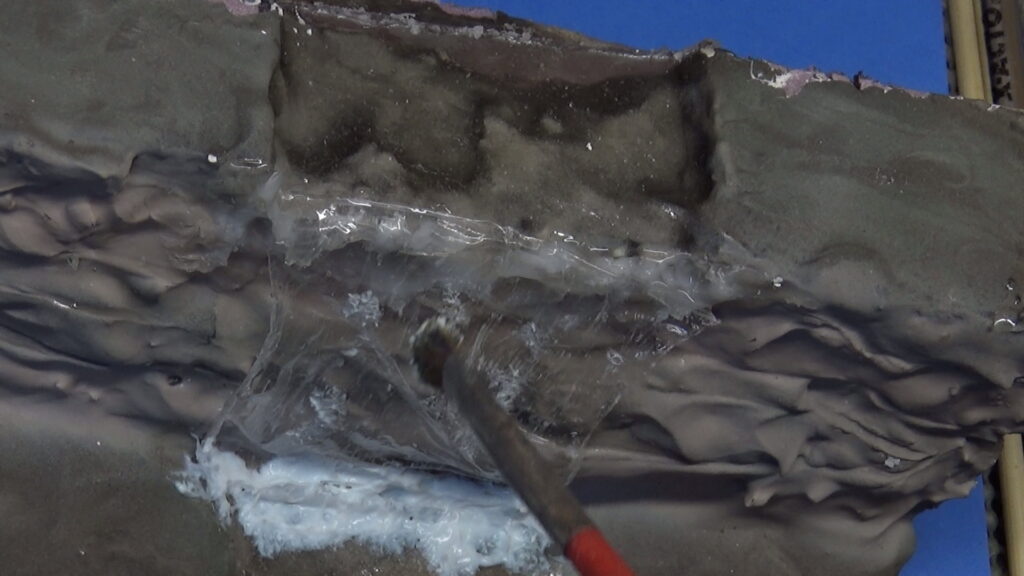
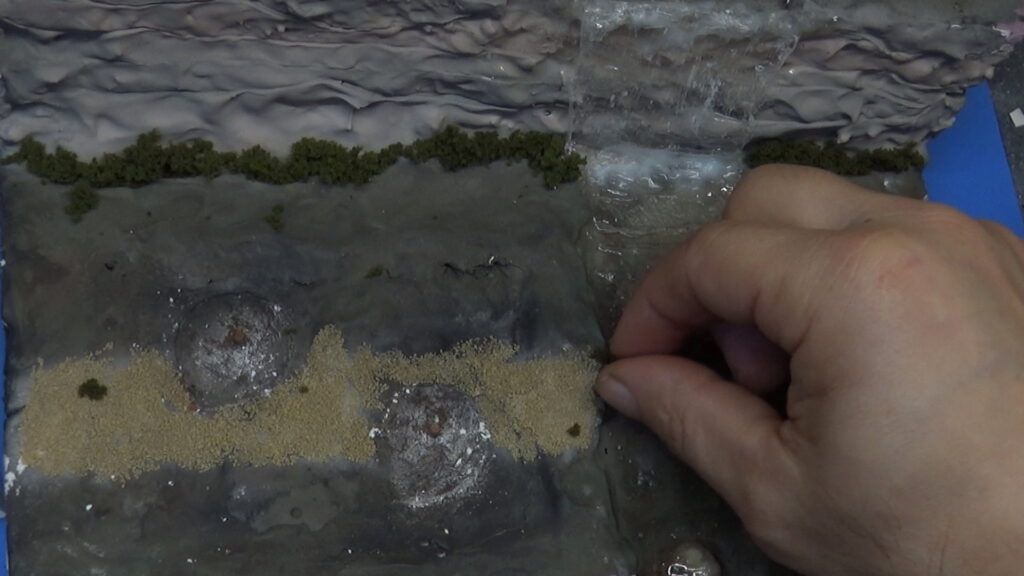
In order to make the waterfall, I took a small piece of plastic wrap and painted some white streaks on it. I then glued it with PVA glue to the top of the stream and bottom, of the rock wall. White caulk was placed at the bottom of the waterfall to create the splash of water hitting water. It was dabbed with a stiff brush to give it depth and randomness.
Adding Path and Shrubbery
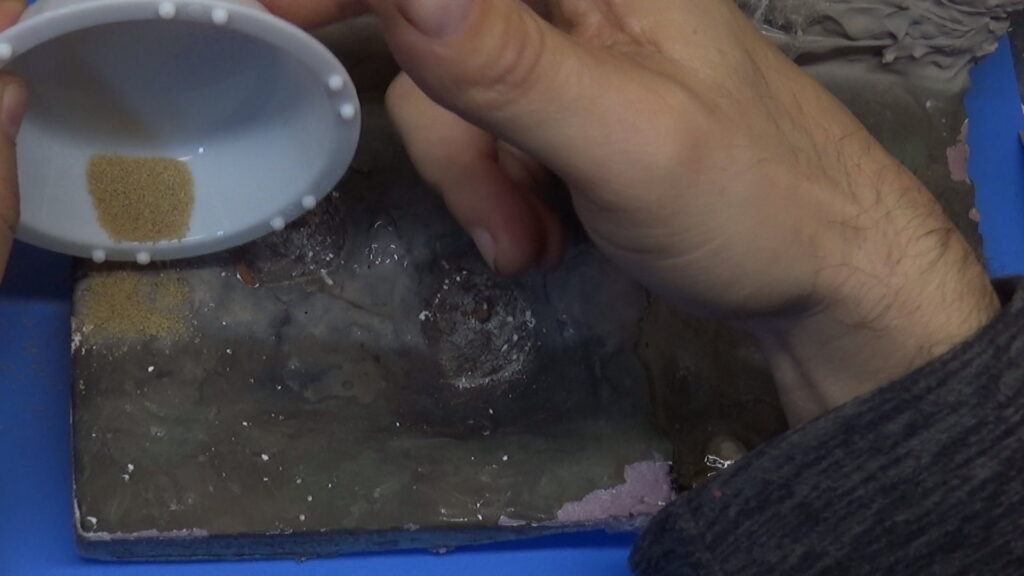
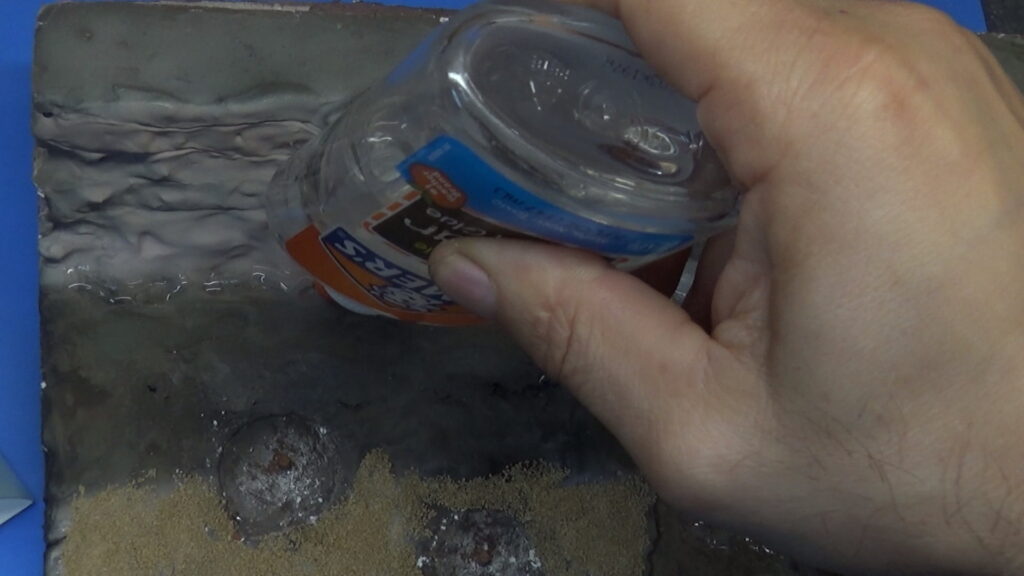
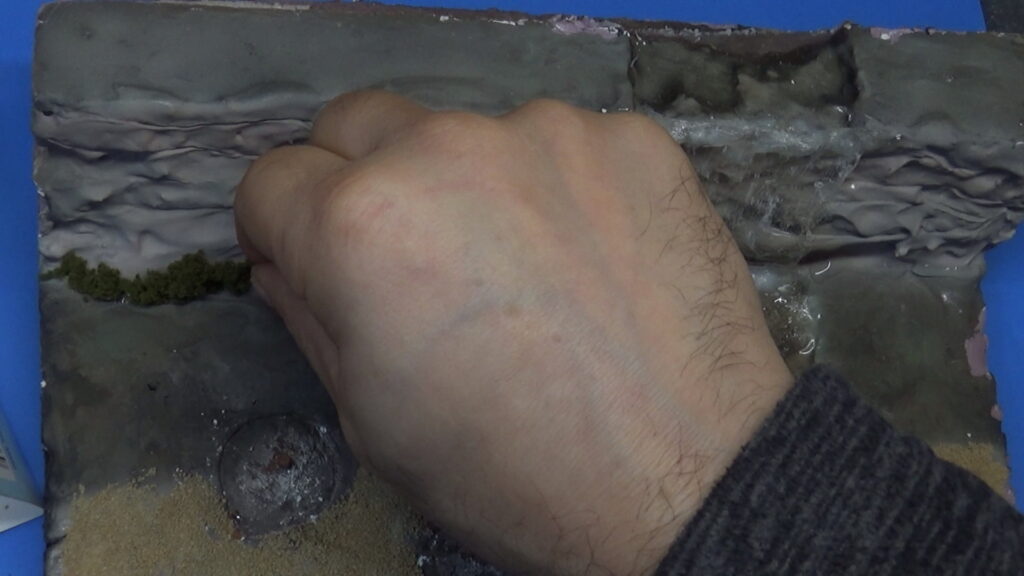
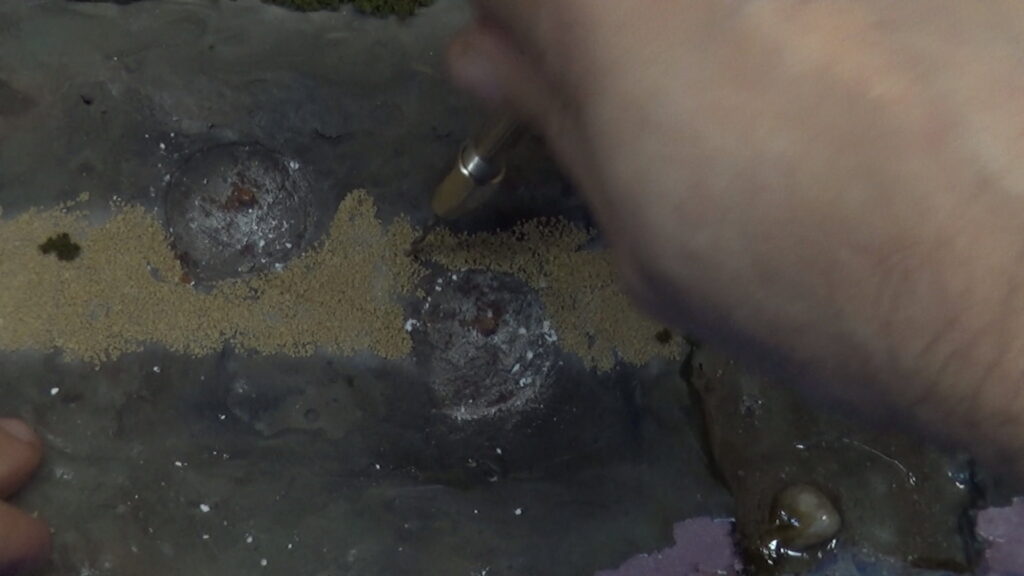
Using PVA glue and small hobby sand, I coat the painted path with the glue, spread it out, and shake the sand on with a small little hobby mixing bowl. Once the sand is applied, I take small green shrubbery and place it along the base of the rock wall, areas along the stream and path, and on top of the rock wall. Shrubs are also glued down by the chipped plaster from taking off the plasticard when making the stream. It was easier to do this, than plaster and paint again.
Adding the Fallen Trees
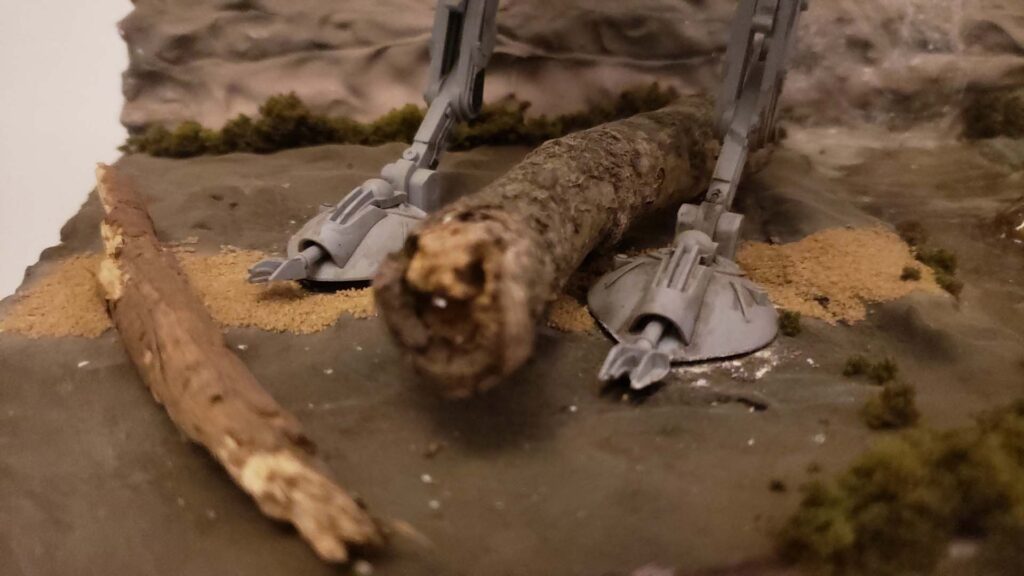
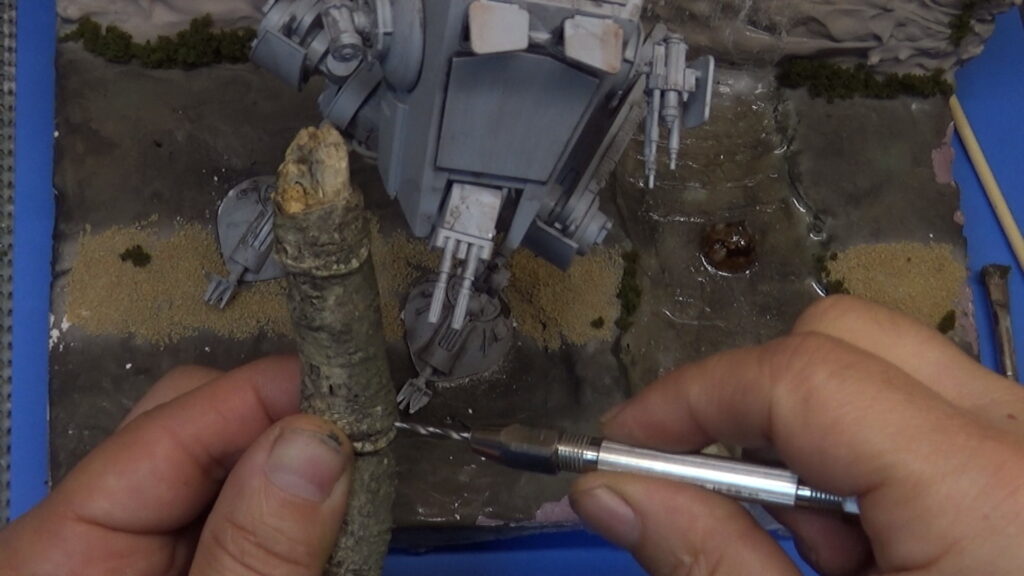
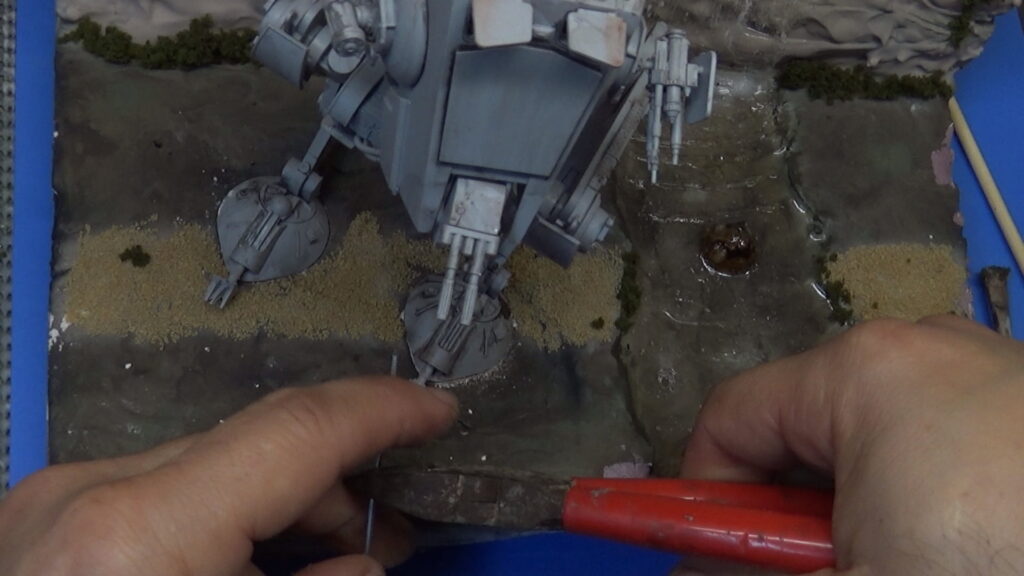
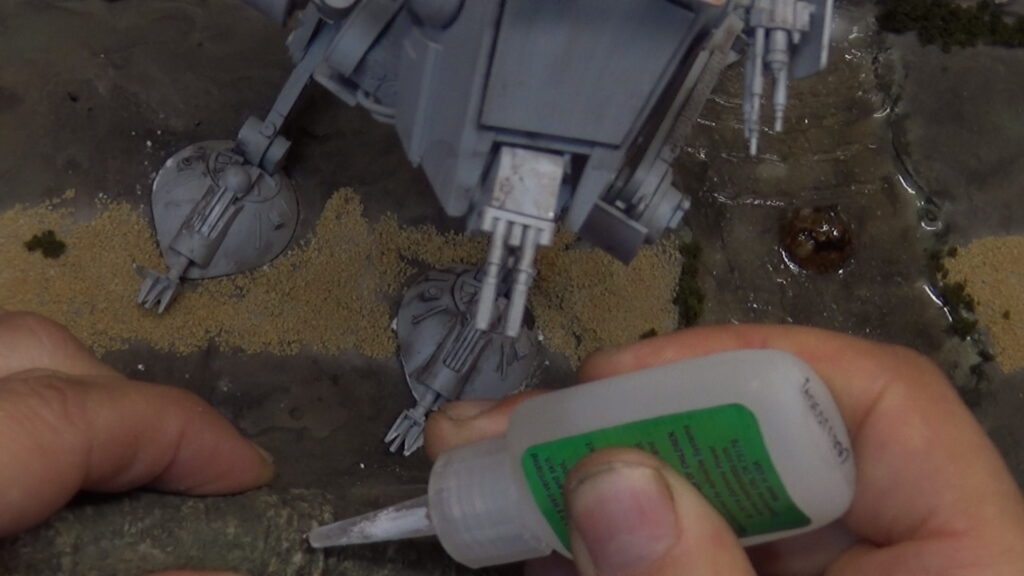
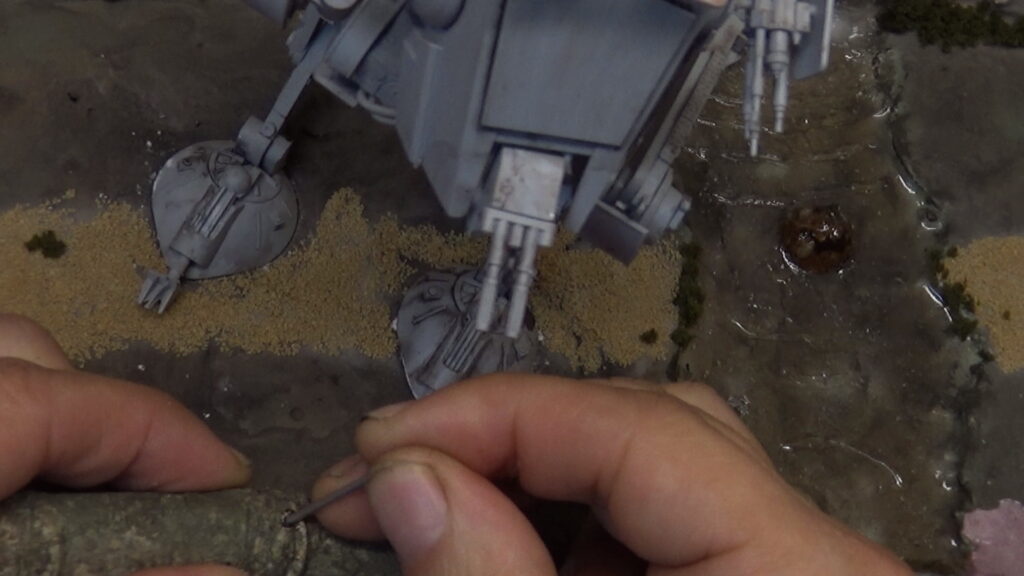
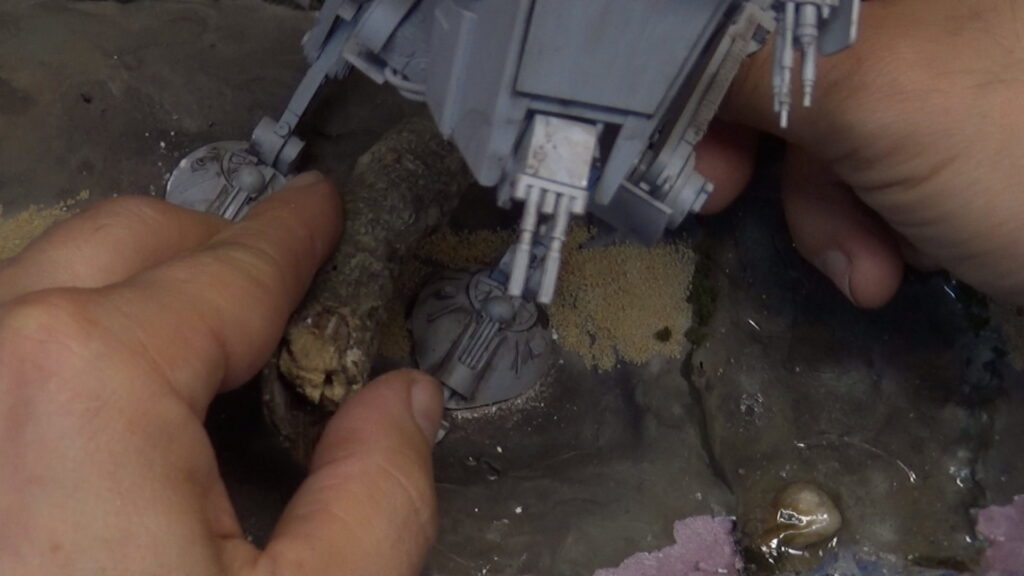
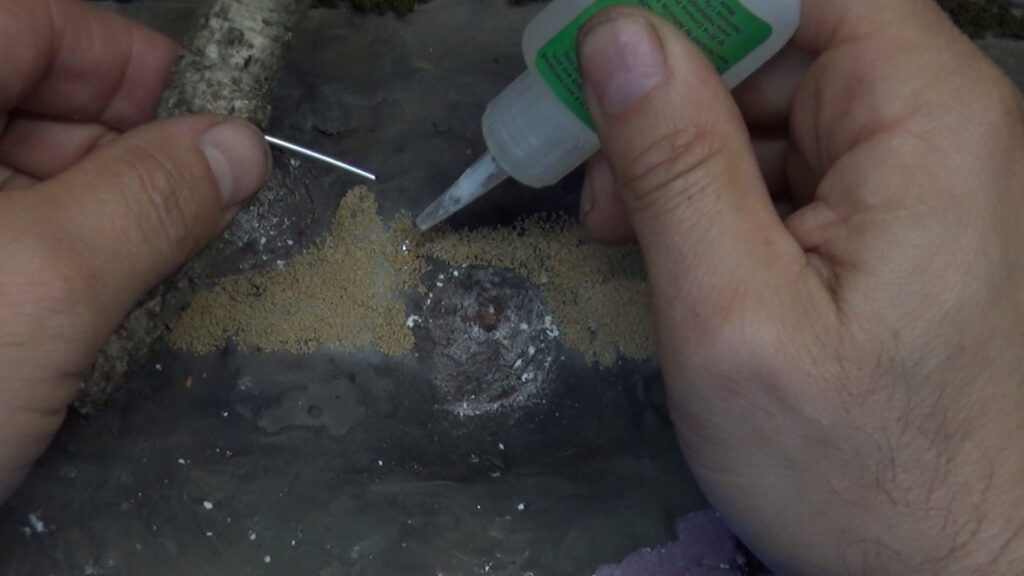
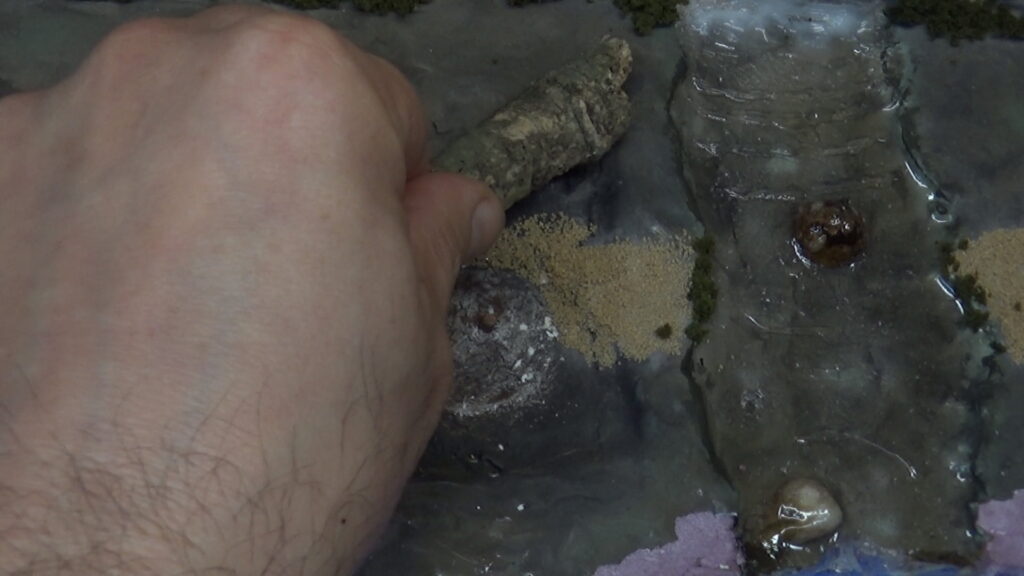
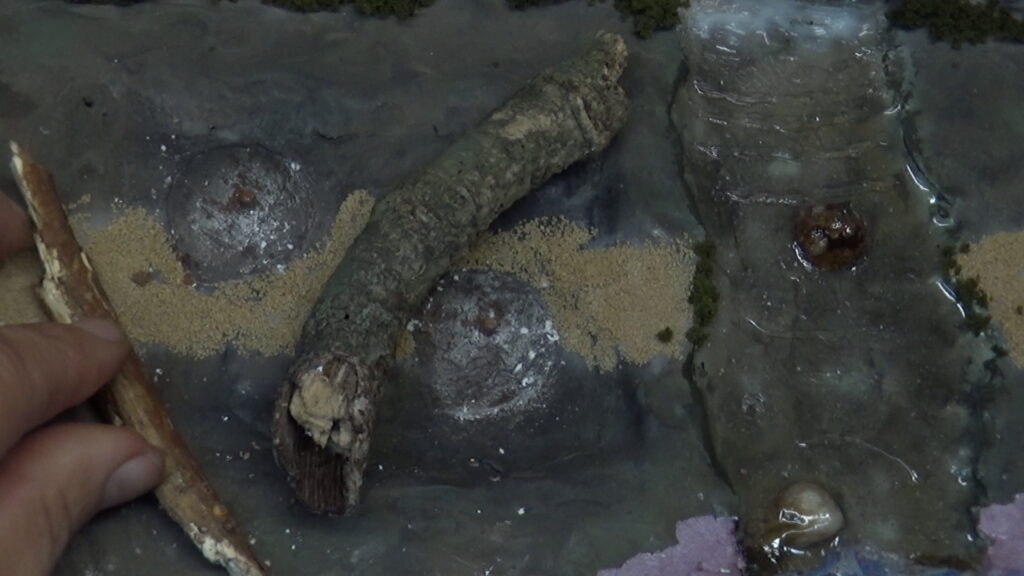
Using a pin vise and a bit with the same size diameter of the wire used to hold down the branches, I drill a hole into each branch. I used a piece of wire cut into to pieces. The wire is held in place with CA glue and is then used to mark its location with the AT-ST in place temporarily. I then use the pin vice to drill a hole into the Diorama base, fill it with CA glue, and put the branches in place.
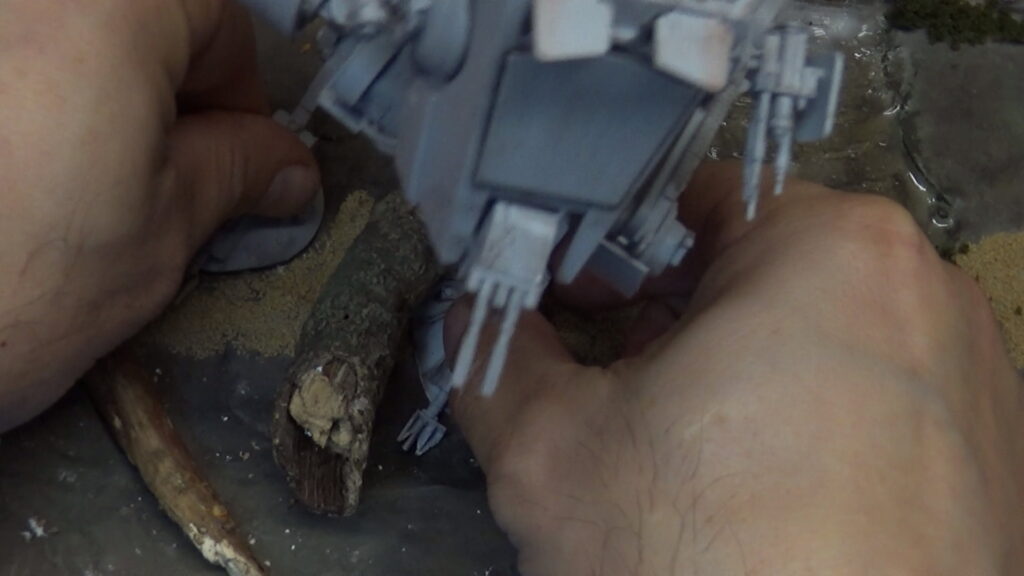
Adding the AT-ST
The final touch will be adding the AT-ST. The plastic base for the model has pegs so you do not have to glue the model in place. It can be glued if you want it to, but for ease of transportation, It will be easier it if can be separated from the Diorama. This completes the Diorama. Trimming can be added to the sides of the foam for a more finished and polished look. I did not add any, but I am happy with the result.
The Completed Diorama
